Start by adding the chain of your choice to the cart – either our Paper Clip Chain or Joint Chain. These chains are 16cm in length with a 5cm extender. perfect for a range of looks.
Once you’ve added the chain to cart, you can add your chosen charms individually to the cart.
Leave a note at checkout with instructions on how you would like your necklace layout. Please specify the order you’d like the charms to appear on your necklace and the spacing between each charm. For the best look, we recommend using up to 6-8 charms.
Our pearl charm is NOT to be worn in water.
*Please allow 5-7 days for creation of custom pieces.
Chain material: Stainless Steel gold-plated
Charm material: Our charms vary in material and include: stainless steel gold-plated, acrylic and fresh water pearls.
Read here for instructions on how to care for your jewellery.
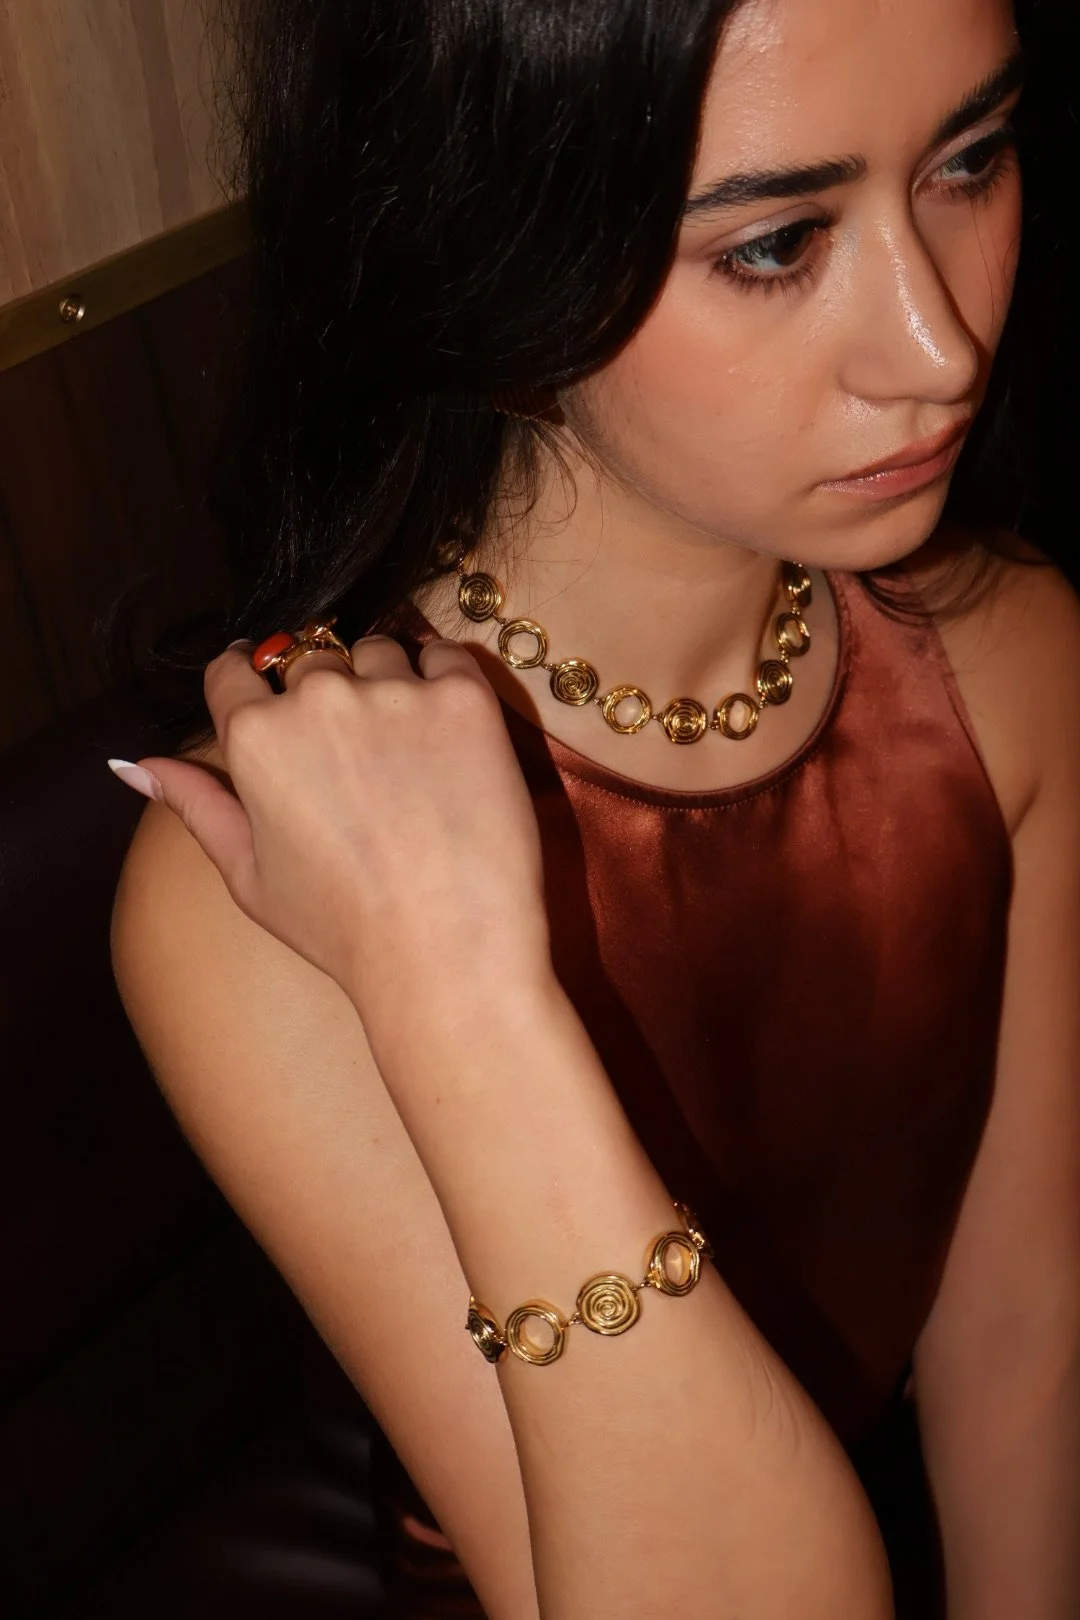
Charm Selection:
Get notified by email when this product is in stock.
How to create your custom charm bracelet:
Start by adding the chain of your choice to the cart – either our Paper Clip Chain or Joint Chain. These chains are 16cm in length with a 5cm extender. perfect for a range of looks.
Once you’ve added the chain to cart, you can add your chosen charms individually to the cart.
Leave a note at checkout with instructions on how you would like your necklace layout. Please specify the order you’d like the charms to appear on your necklace and the spacing between each charm. For the best look, we recommend using up to 6-8 charms.
Our pearl charm is NOT to be worn in water.
*Please allow 5-7 days for creation of custom pieces.
Chain material: Stainless Steel gold-plated
Charm material: Our charms vary in material and include: stainless steel gold-plated, acrylic and fresh water pearls.
Read here for instructions on how to care for your jewellery.

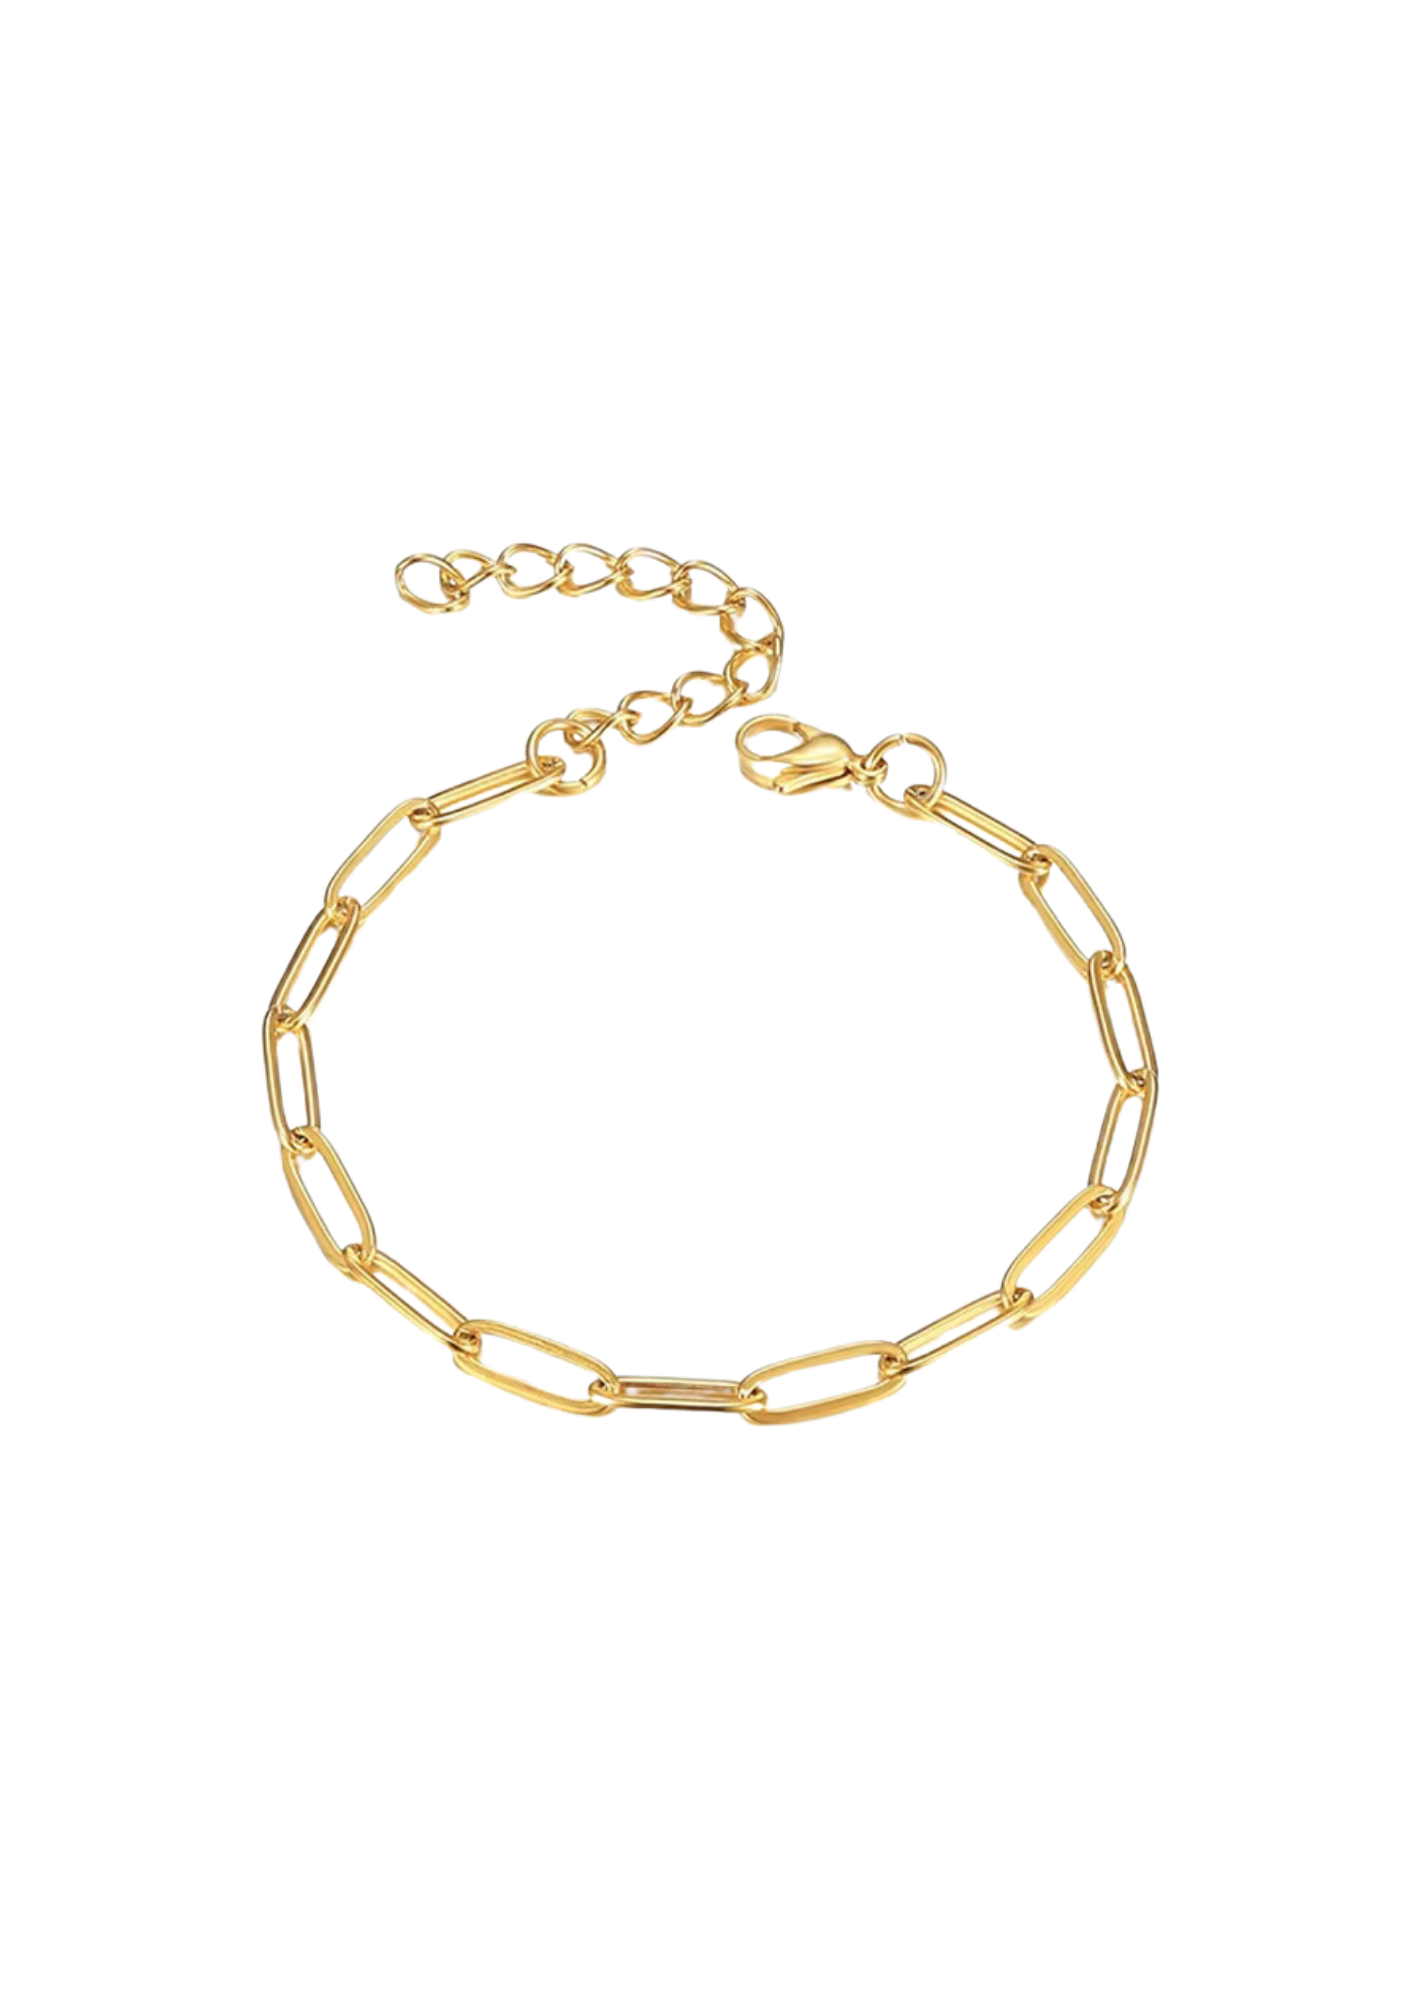 Image 1 of 56
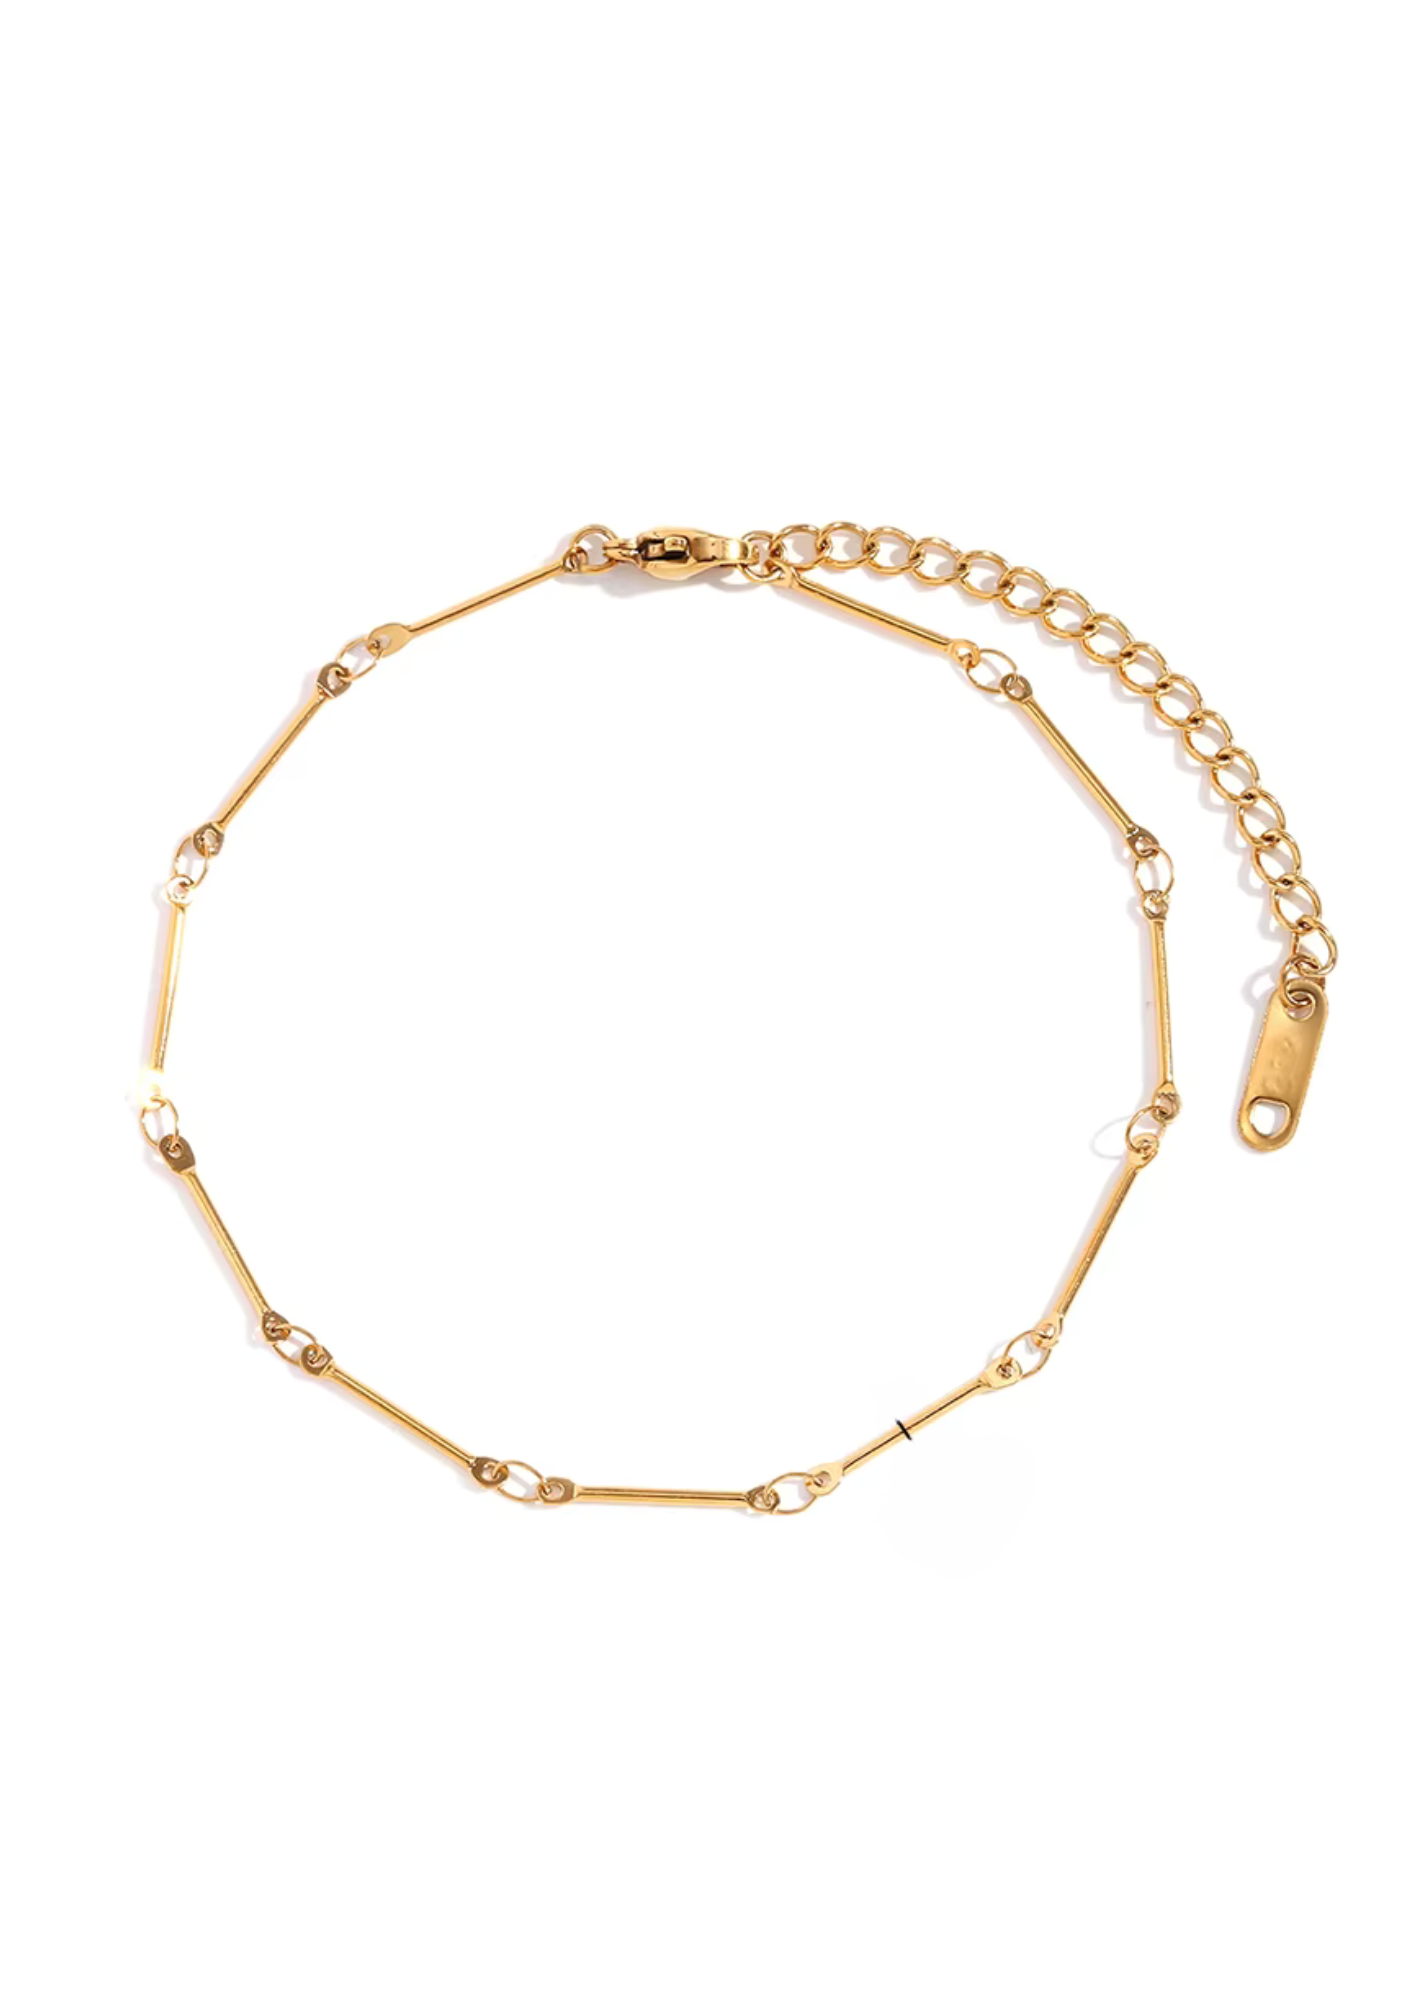 Image 2 of 56
 Image 3 of 56
 Image 4 of 56
 Image 5 of 56
 Image 6 of 56
 Image 7 of 56
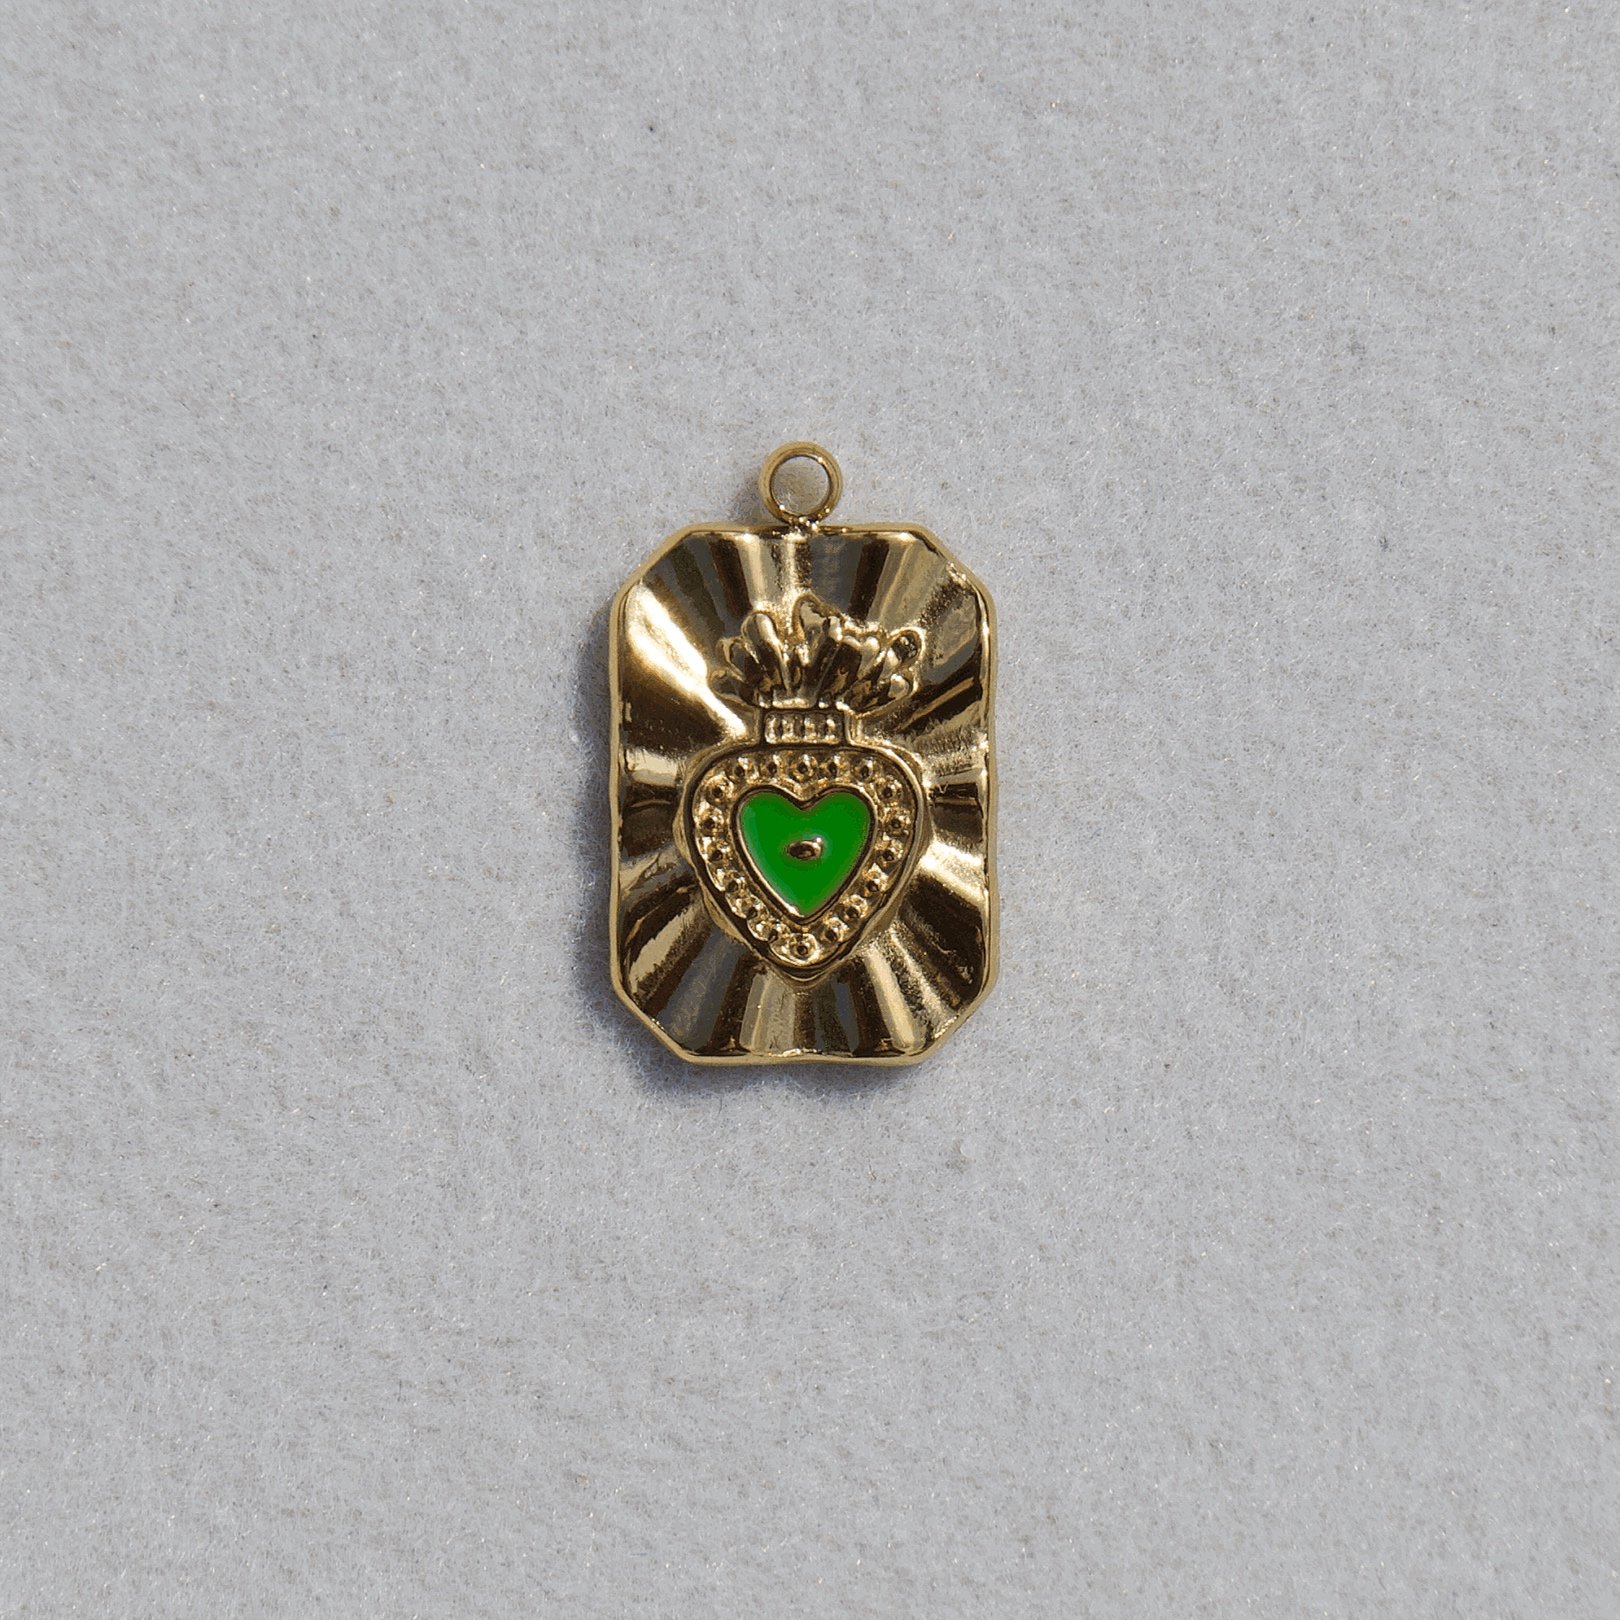 Image 8 of 56
 Image 9 of 56
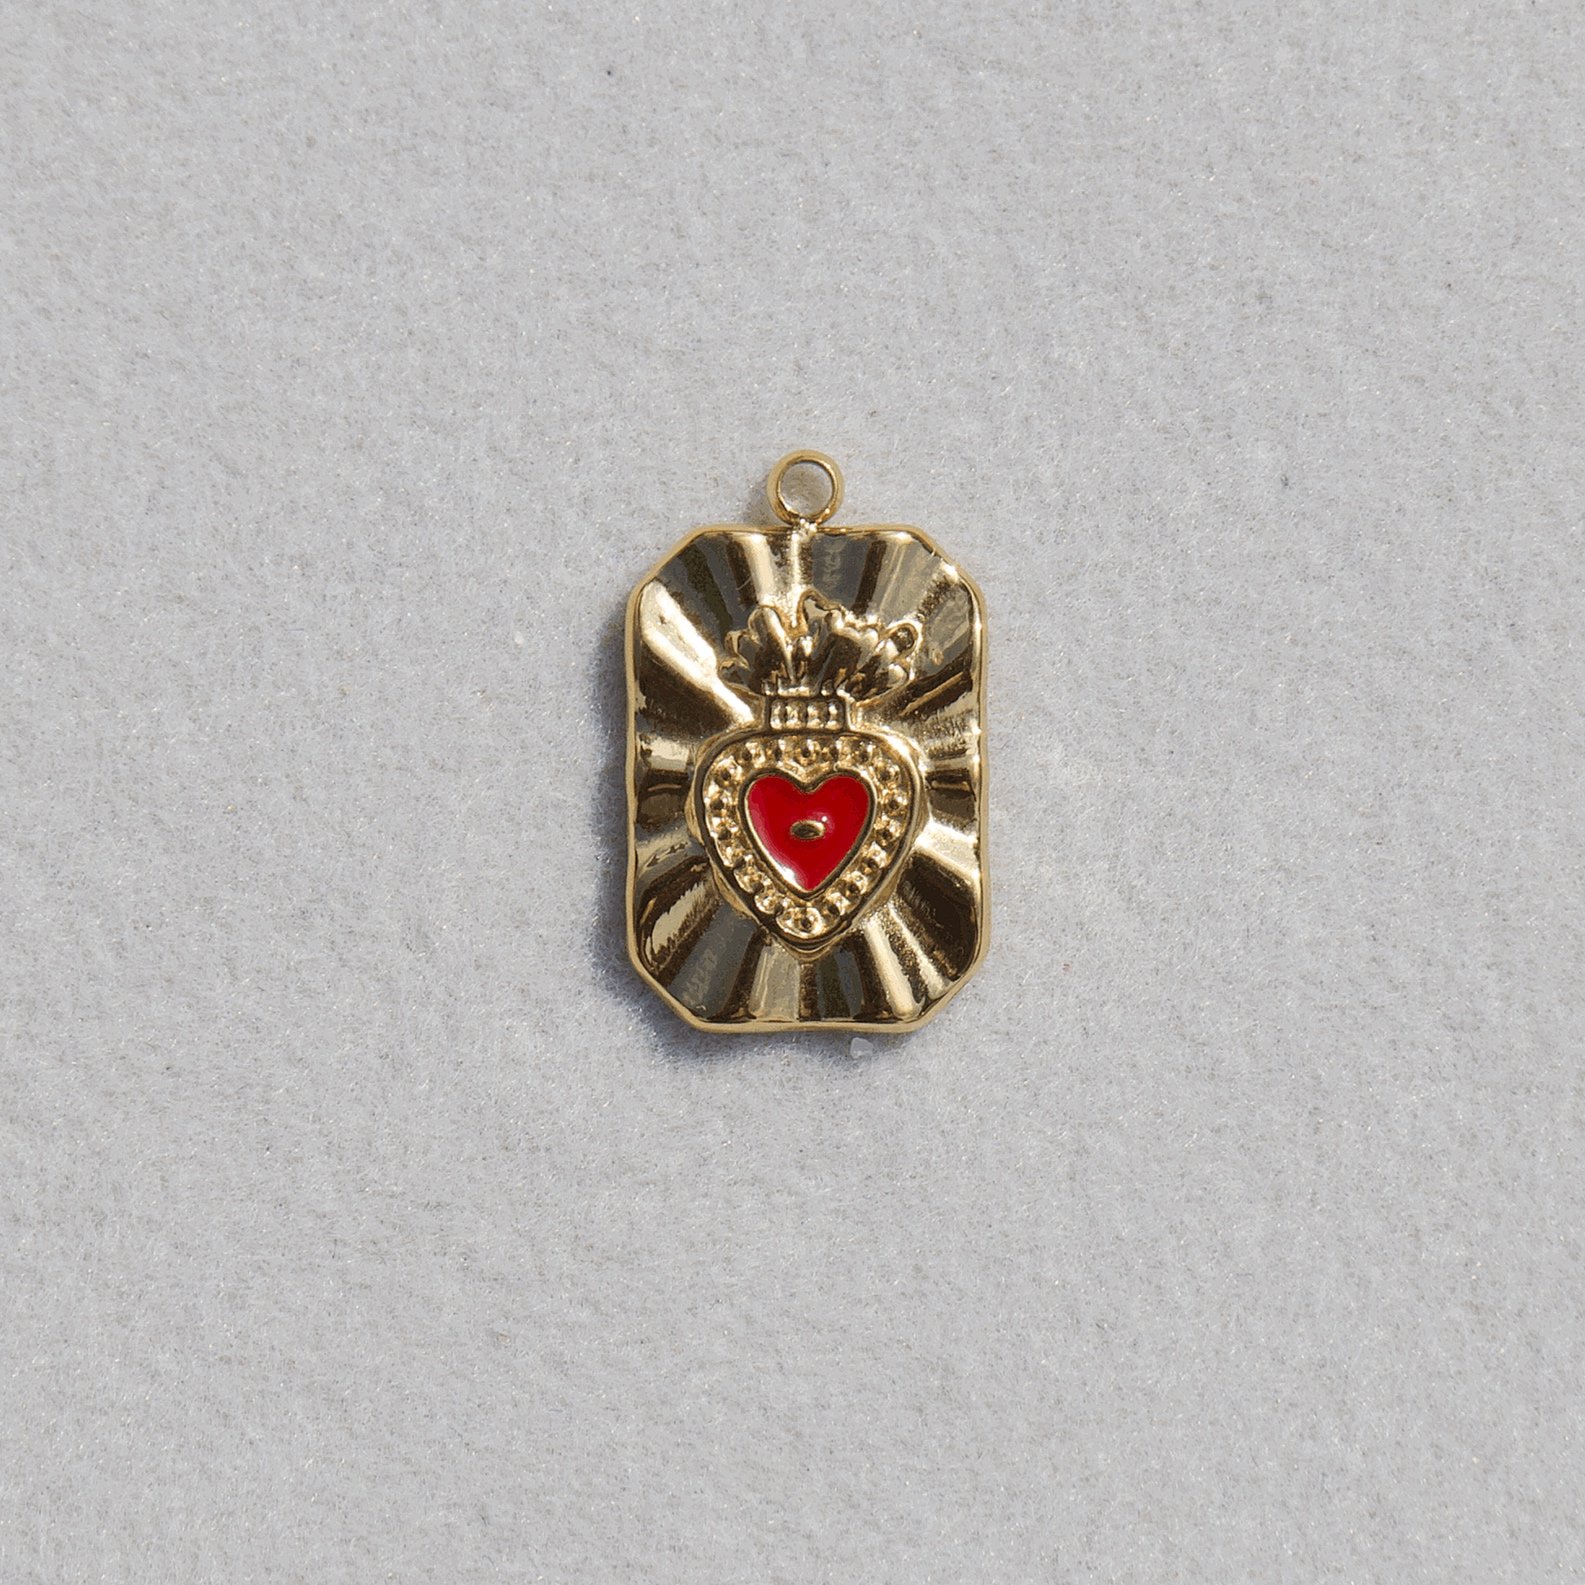 Image 10 of 56
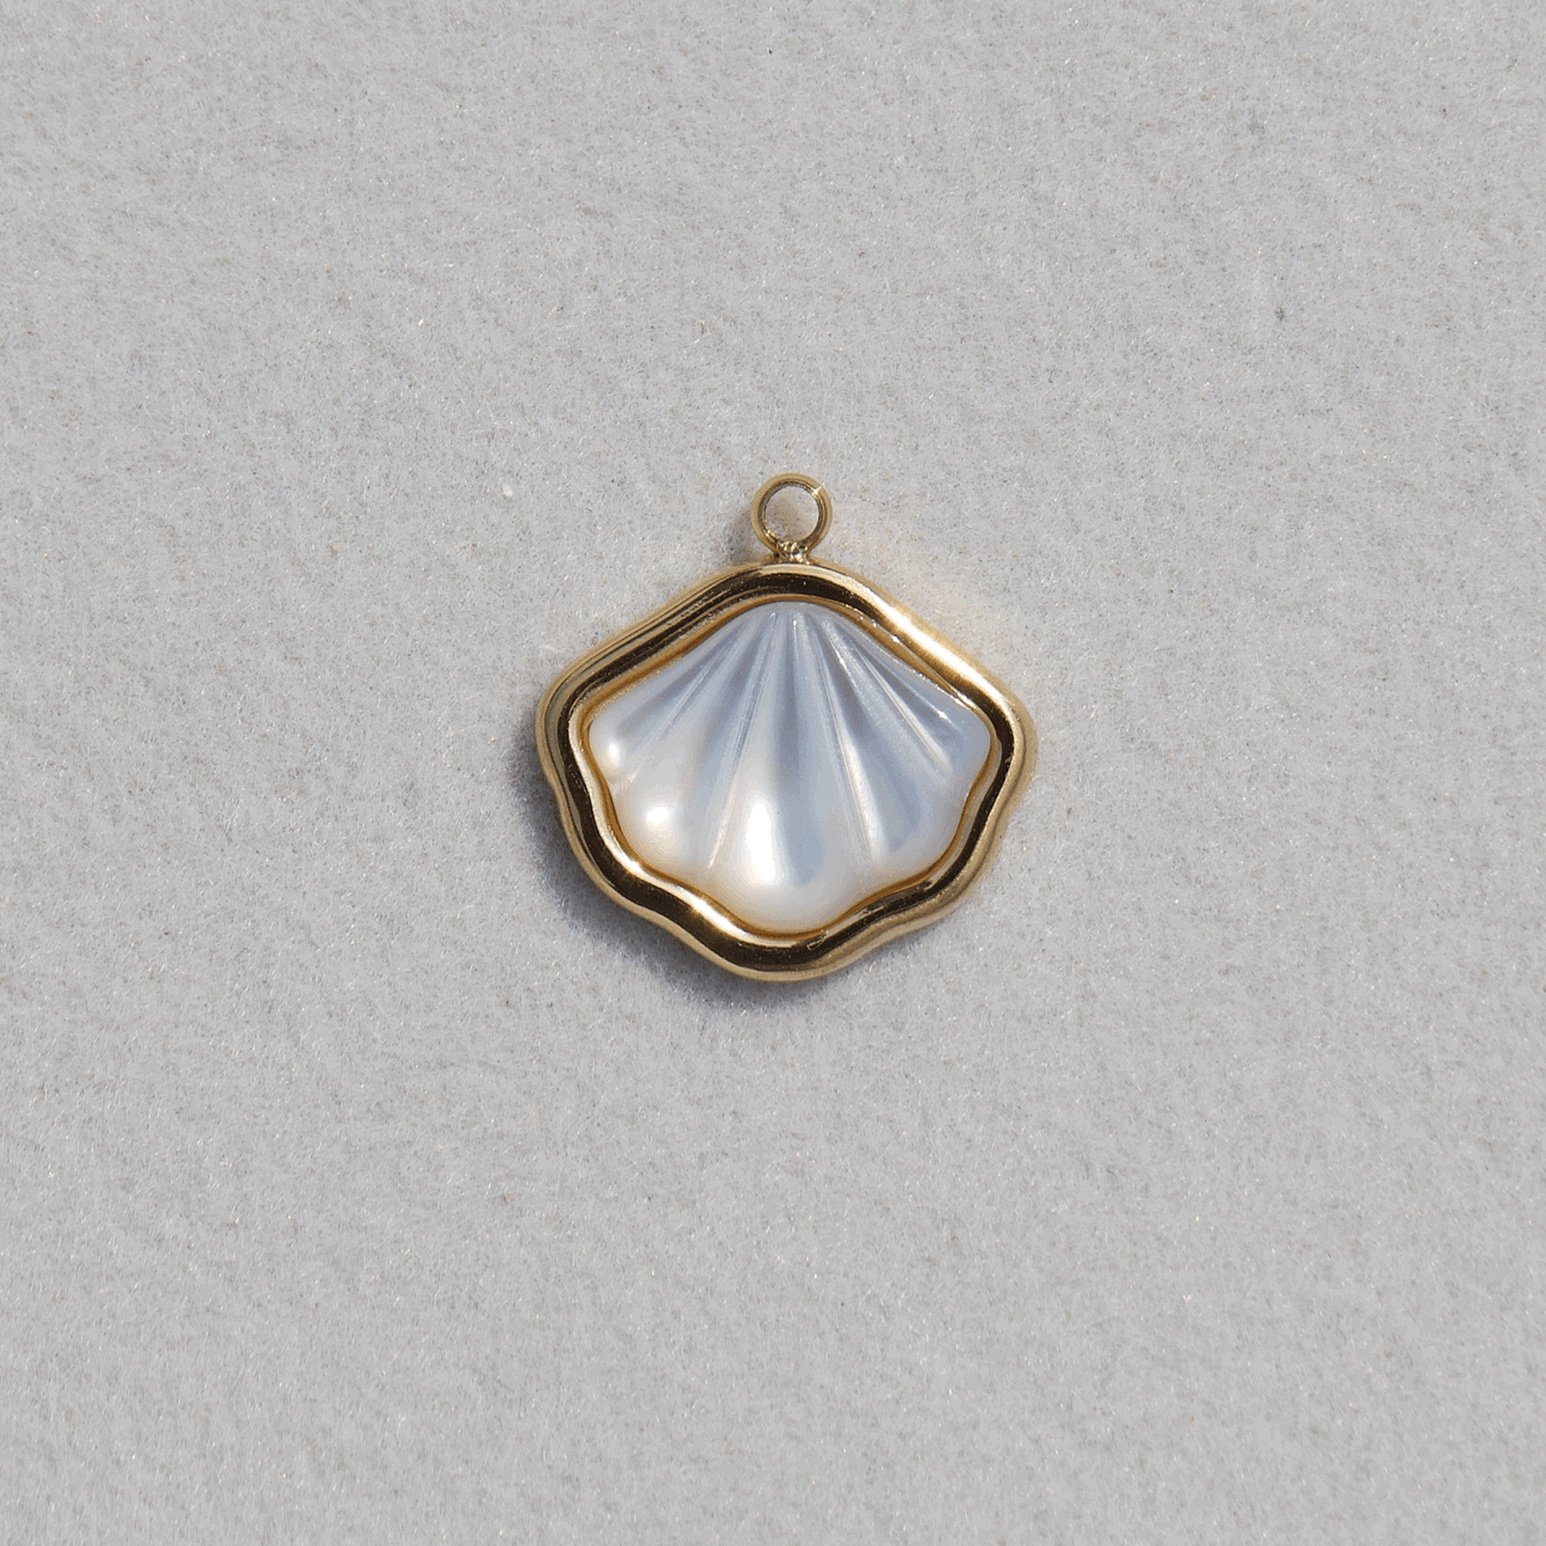 Image 11 of 56
 Image 12 of 56
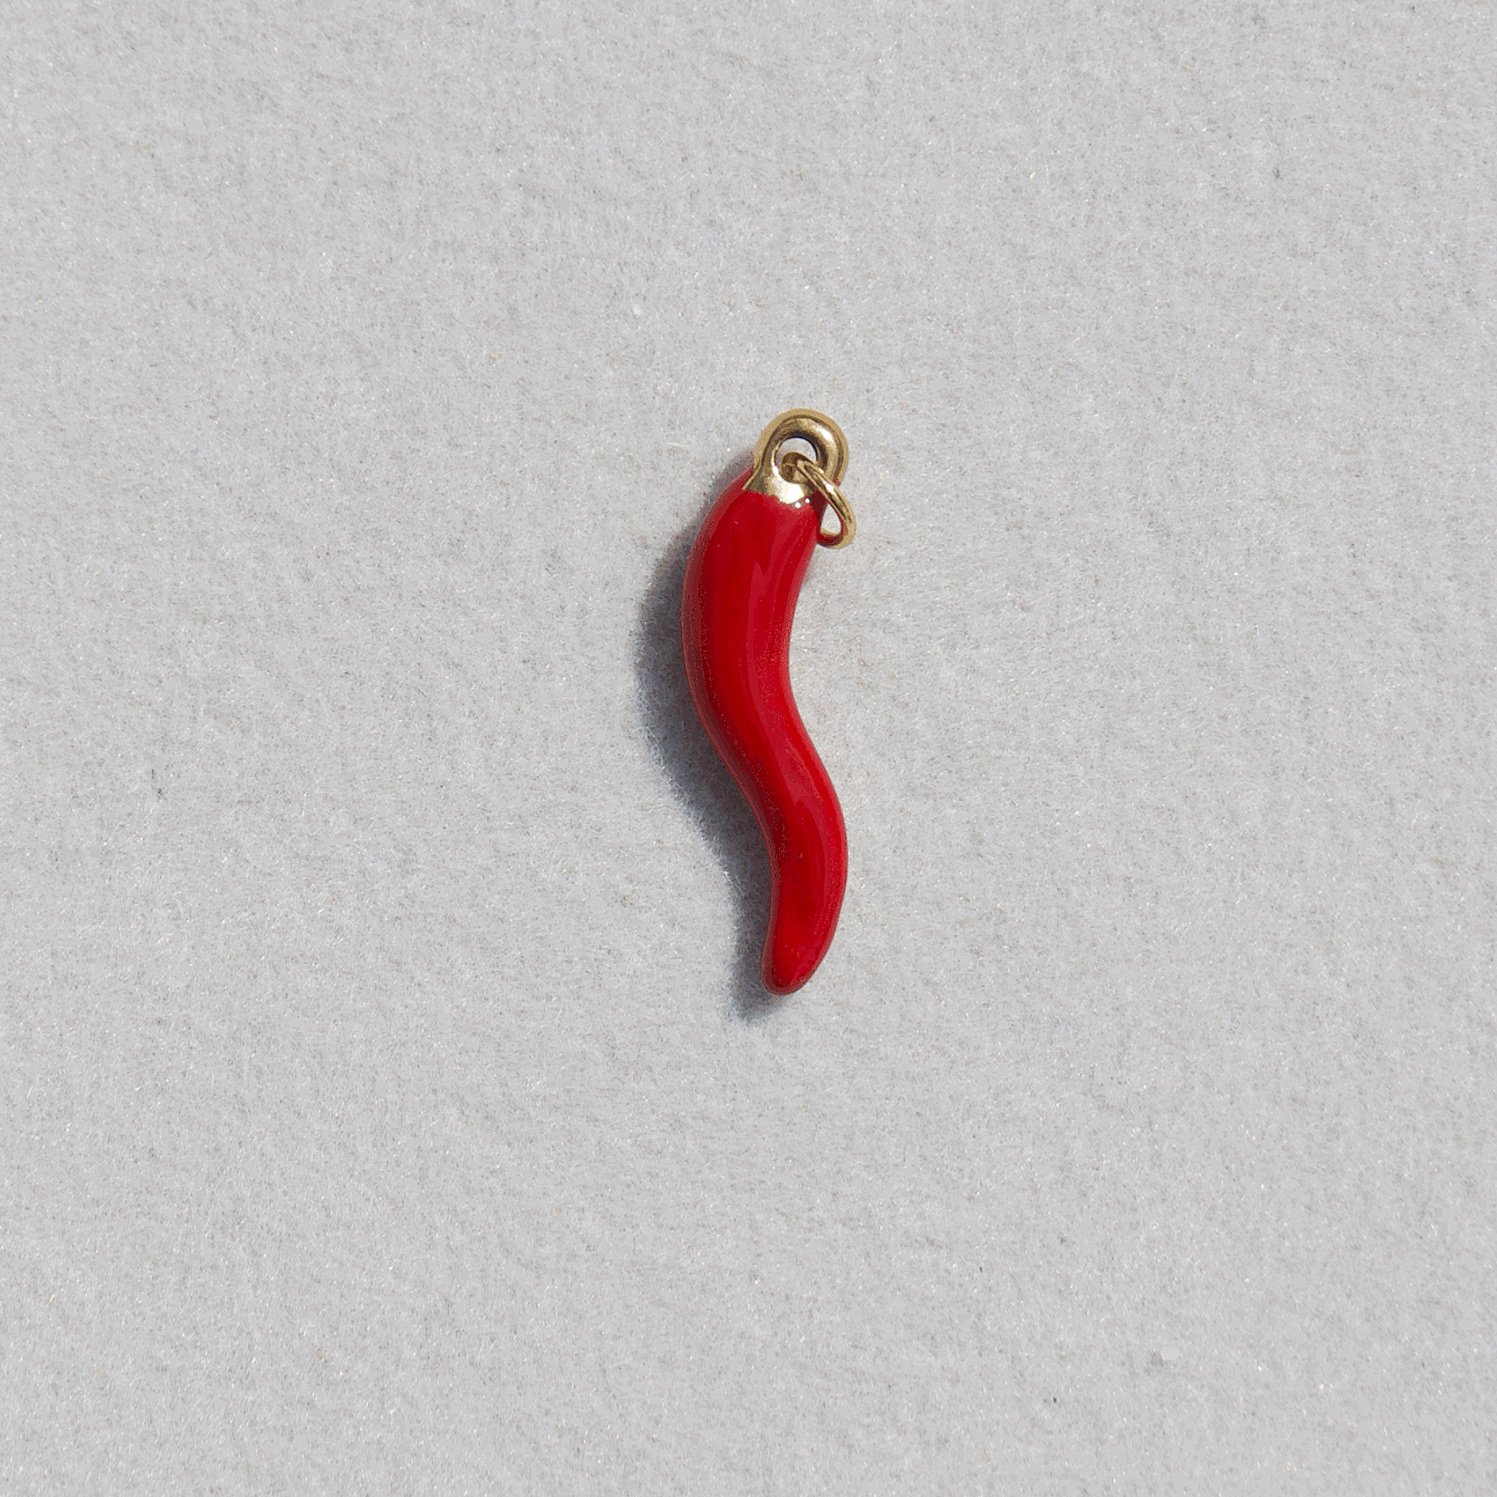 Image 13 of 56
 Image 14 of 56
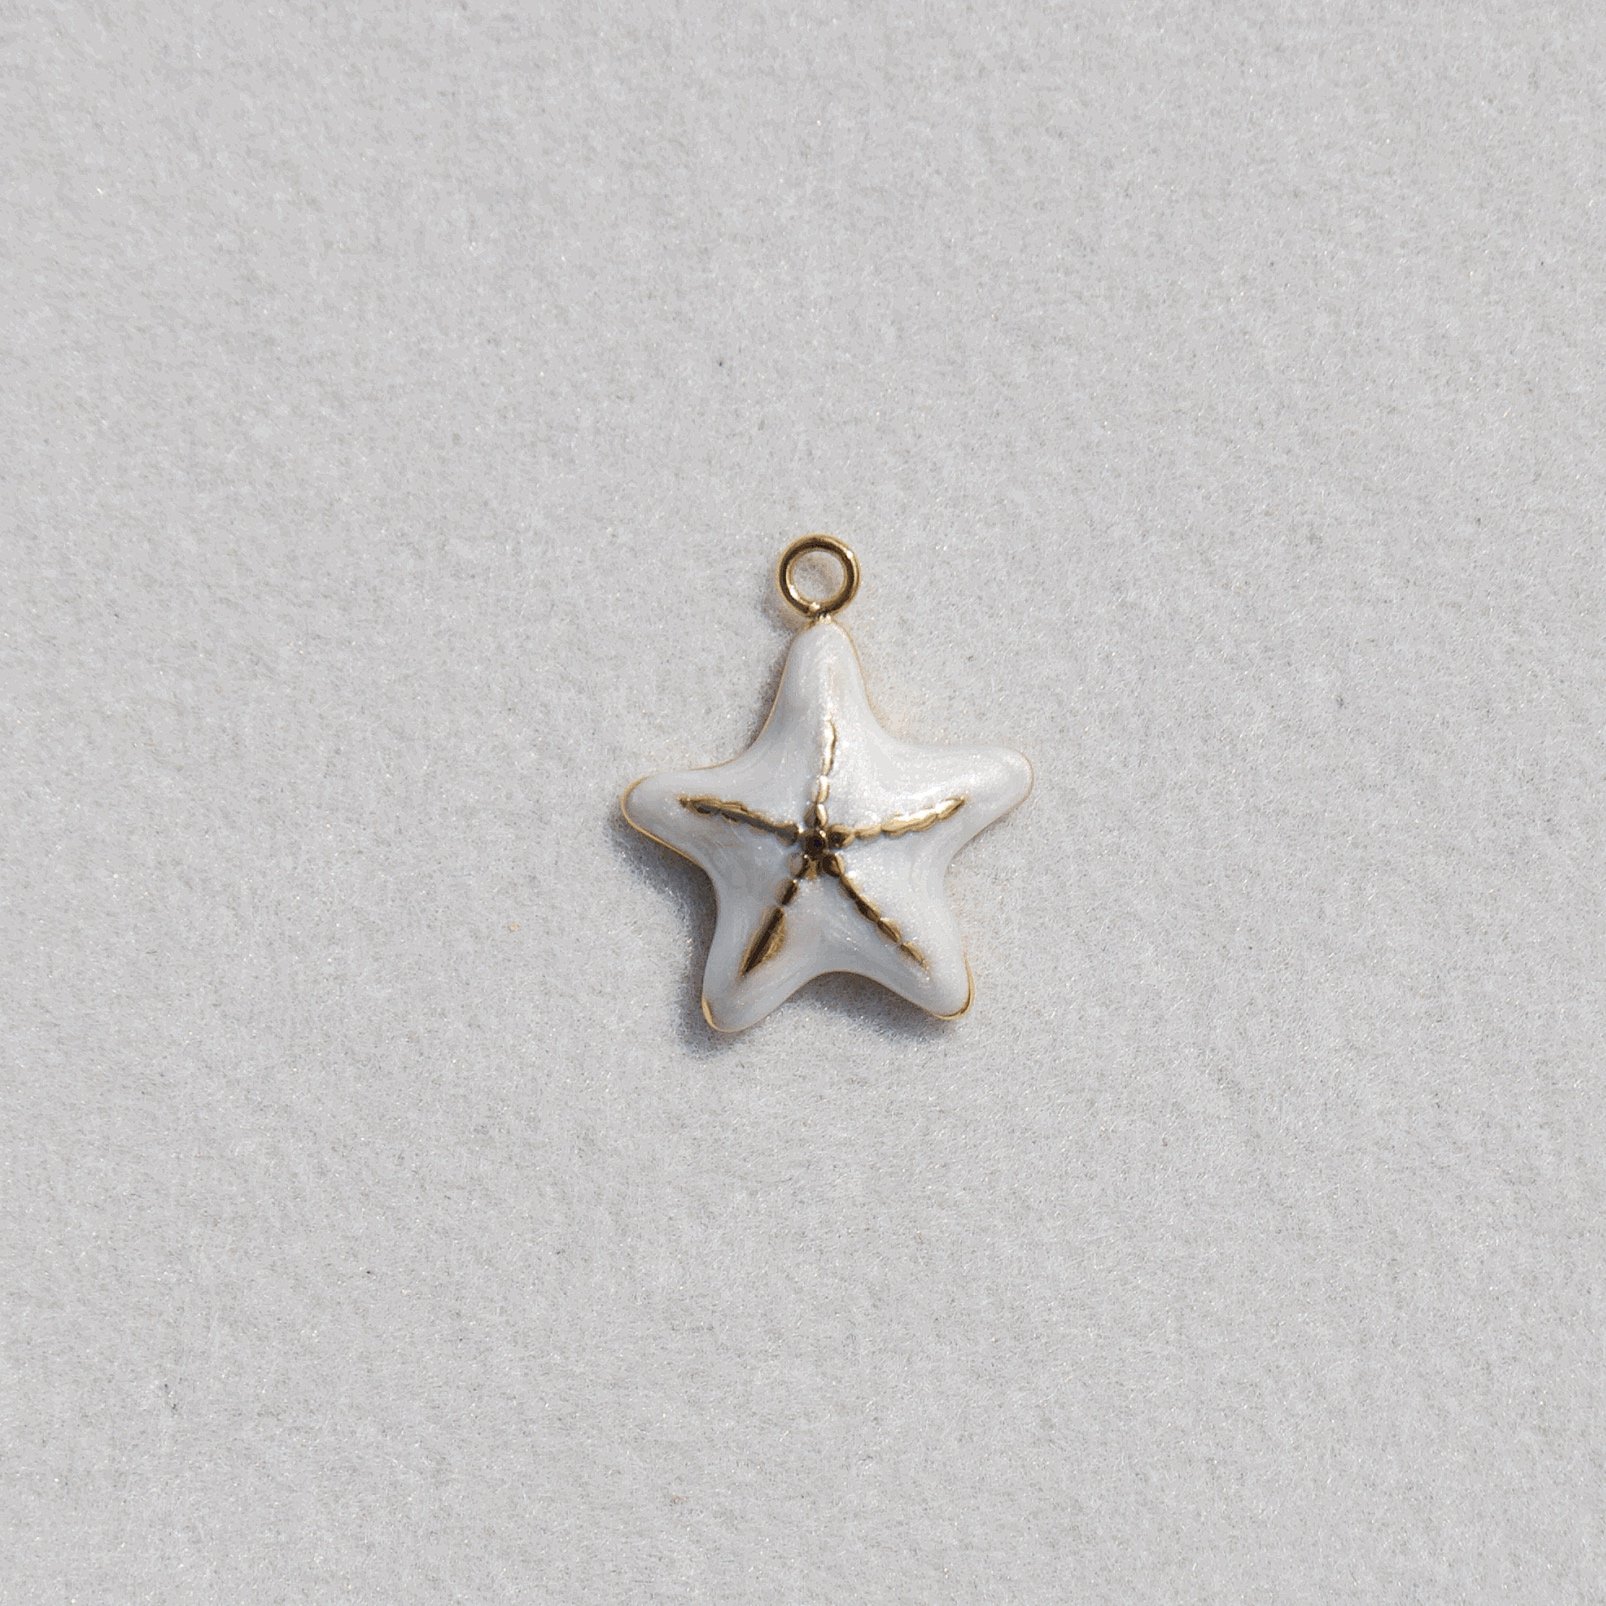 Image 15 of 56
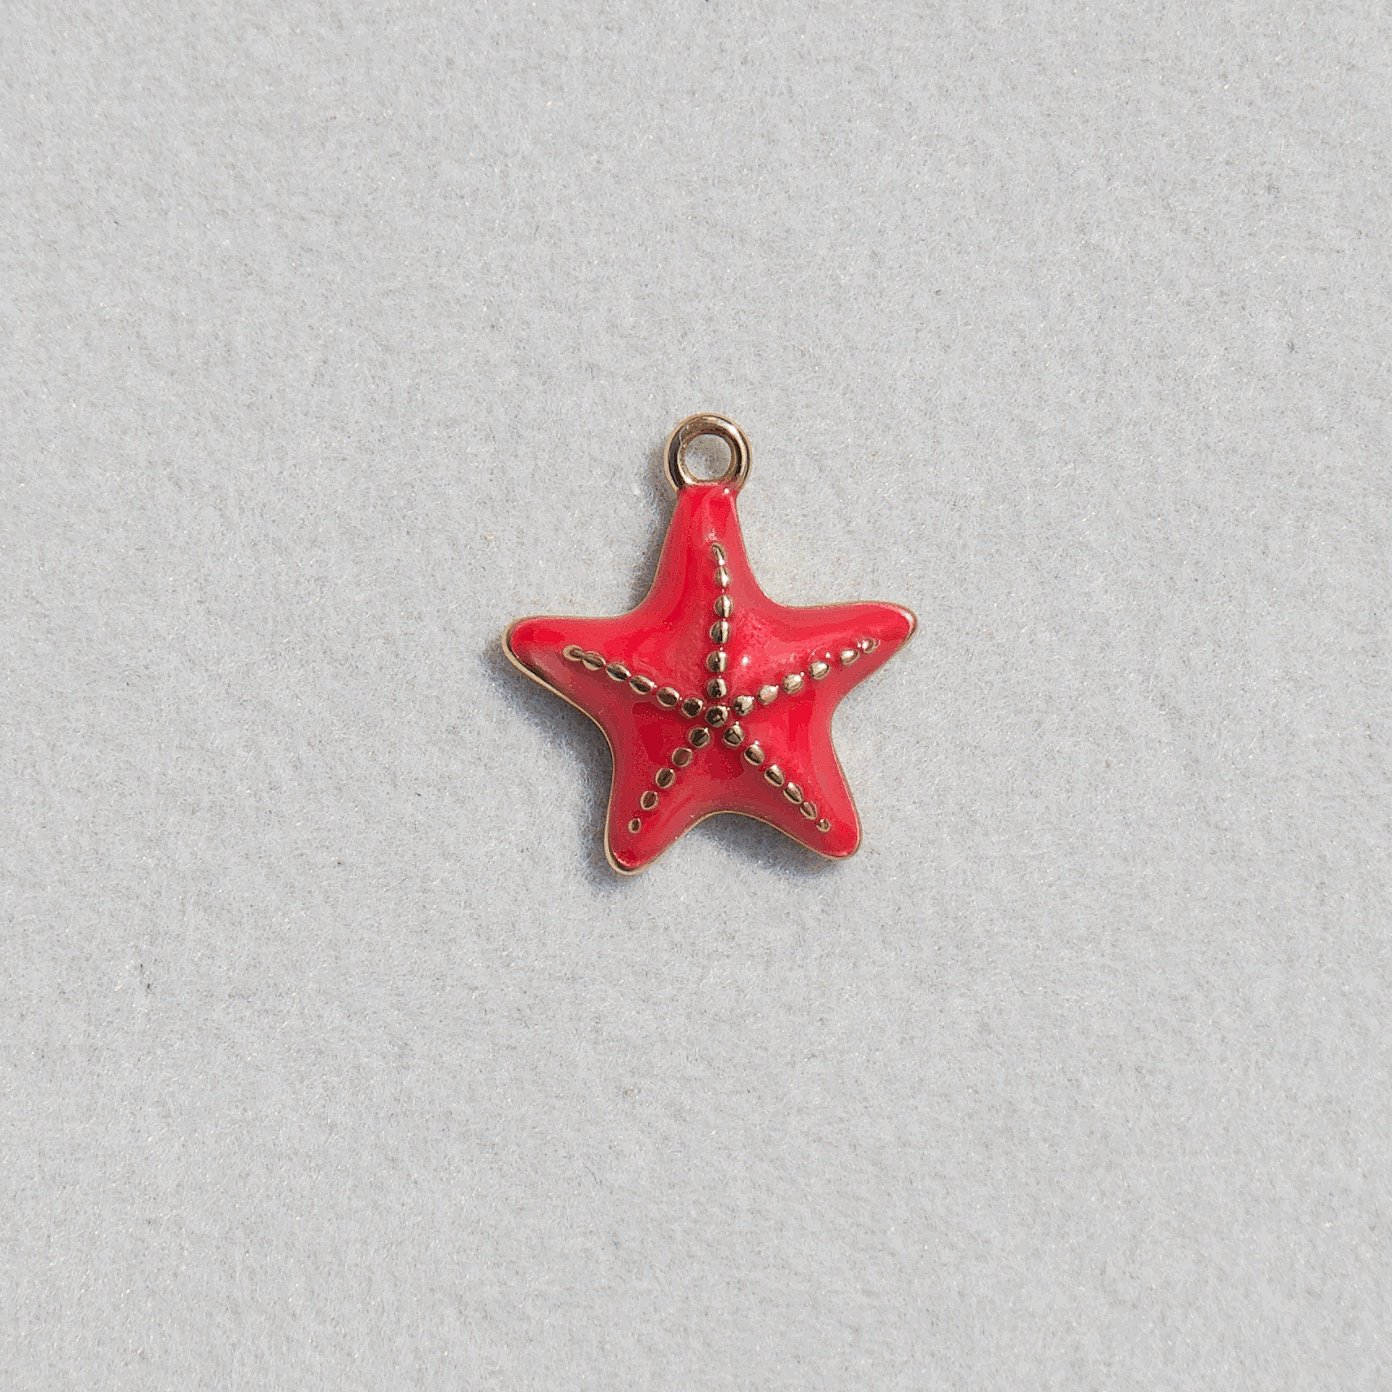 Image 16 of 56
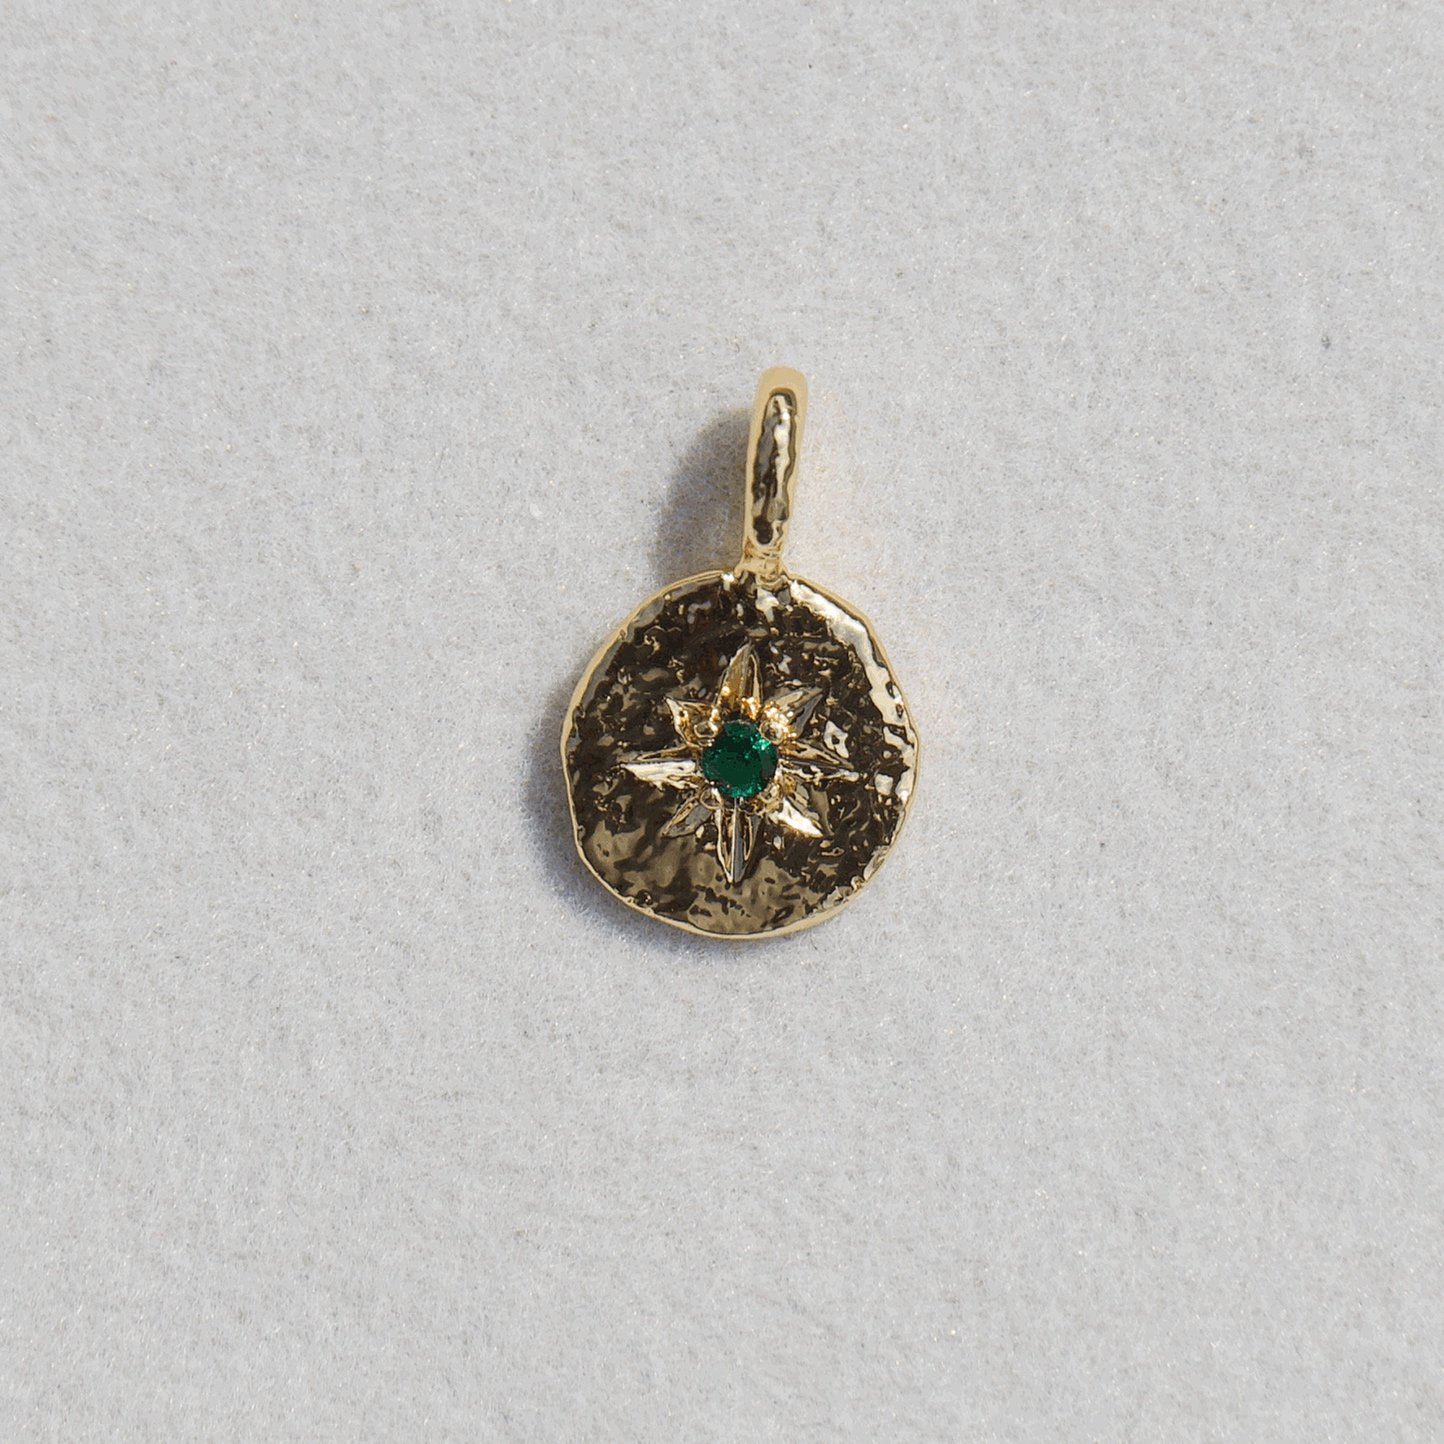 Image 17 of 56
 Image 18 of 56
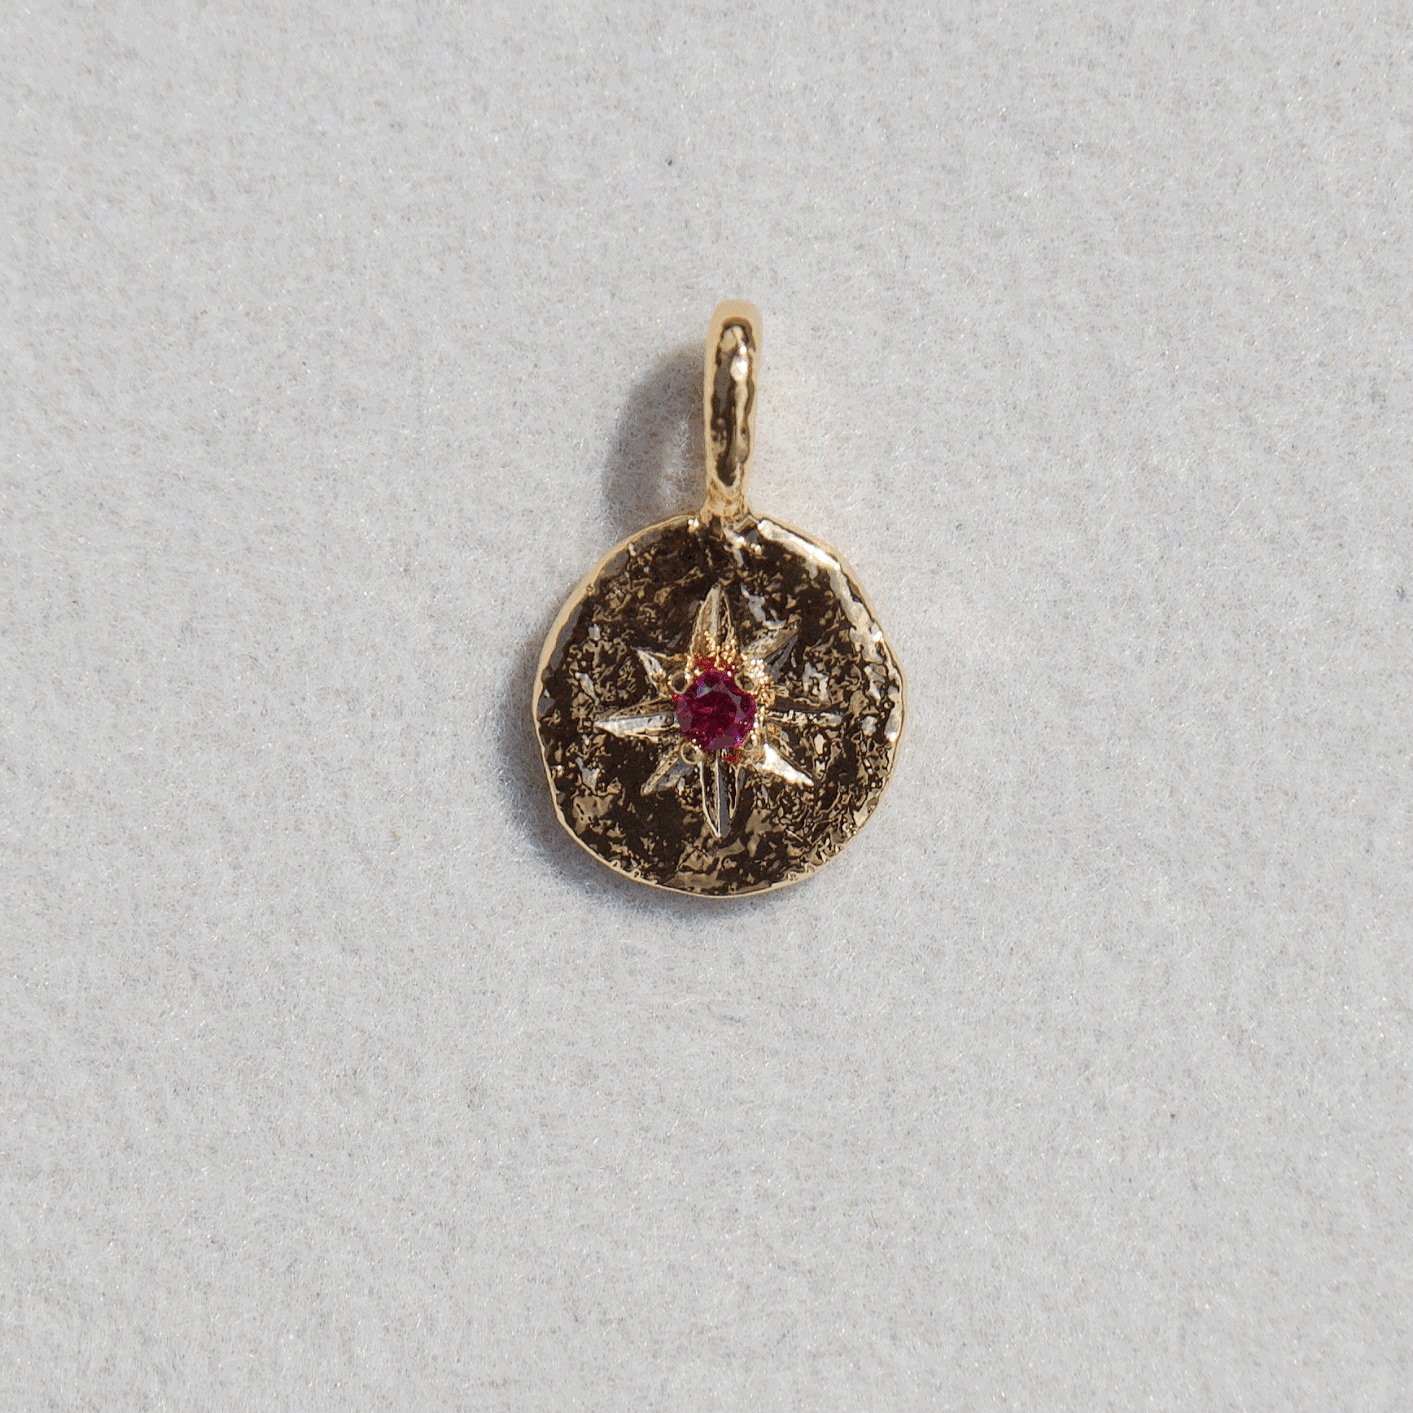 Image 19 of 56
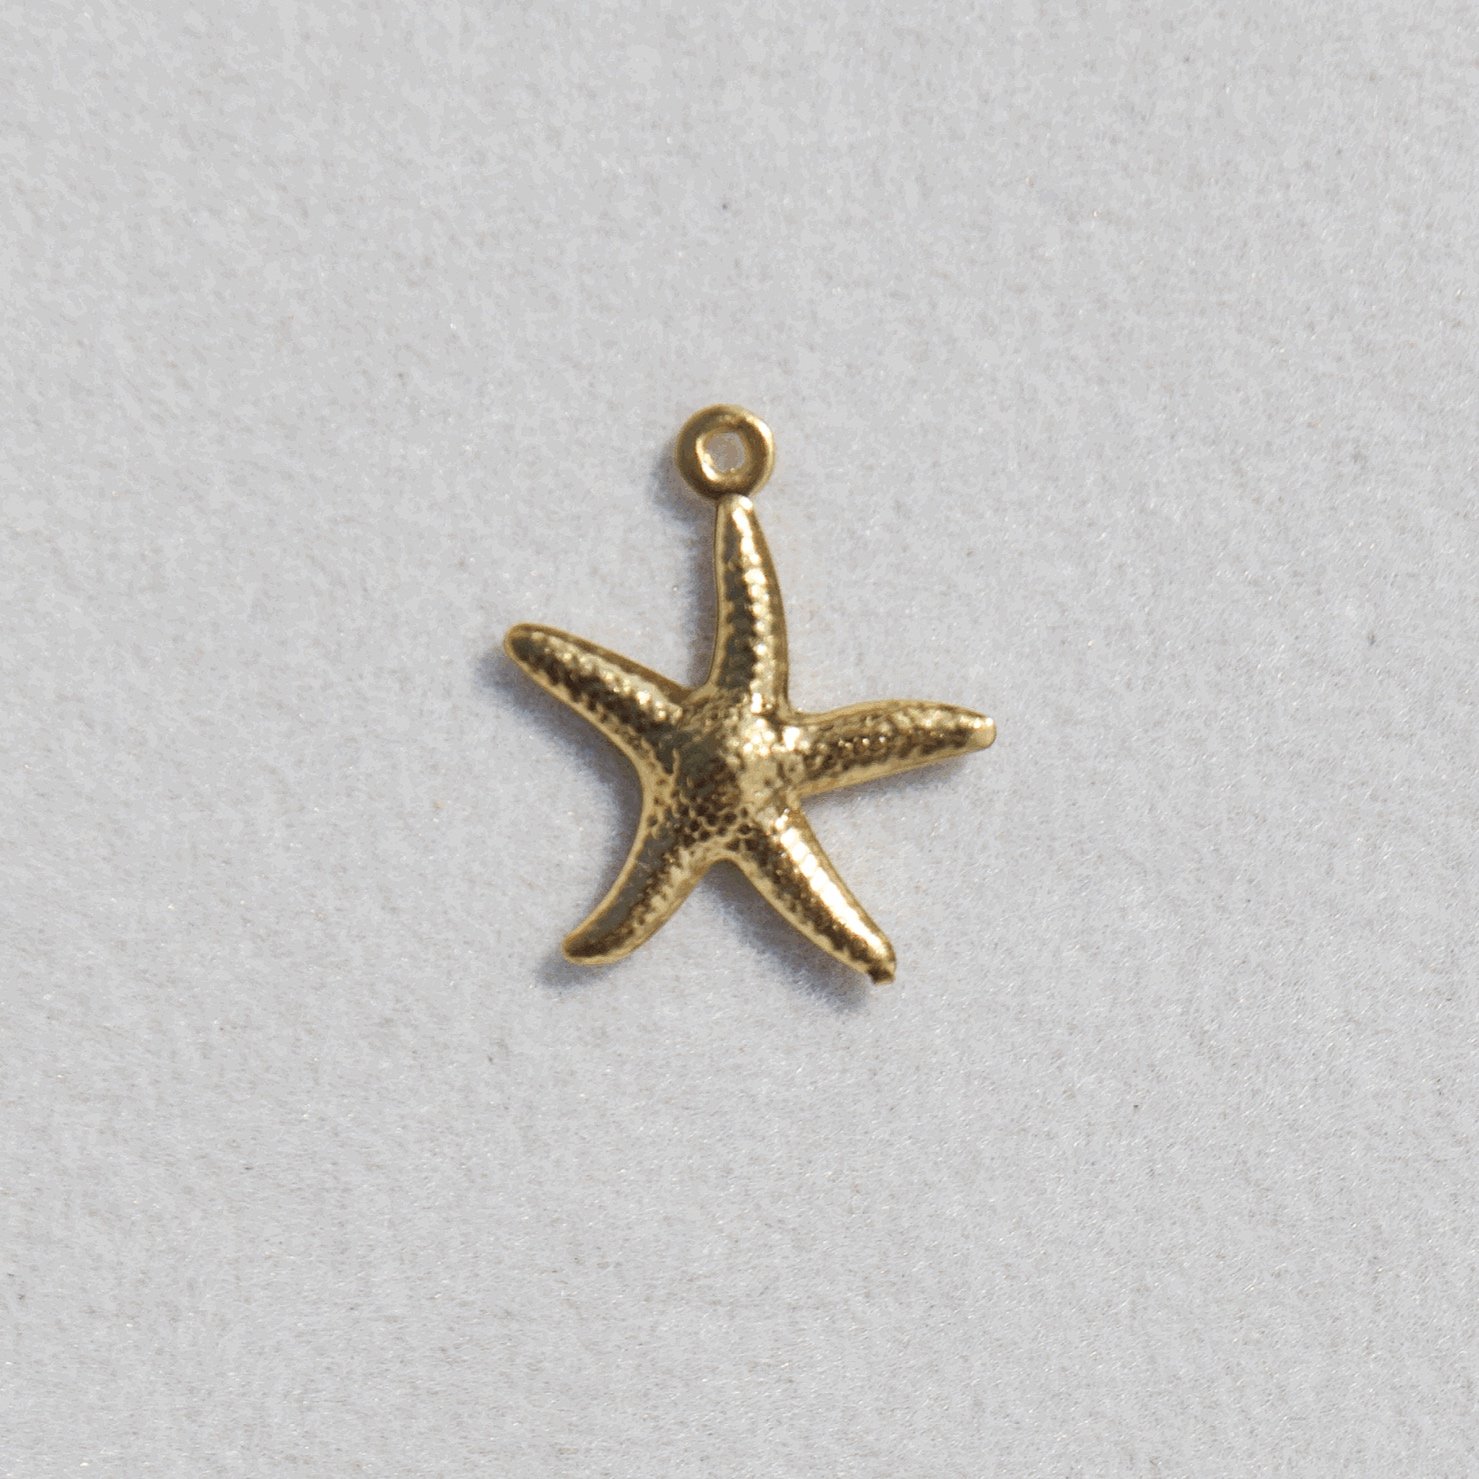 Image 20 of 56
 Image 21 of 56
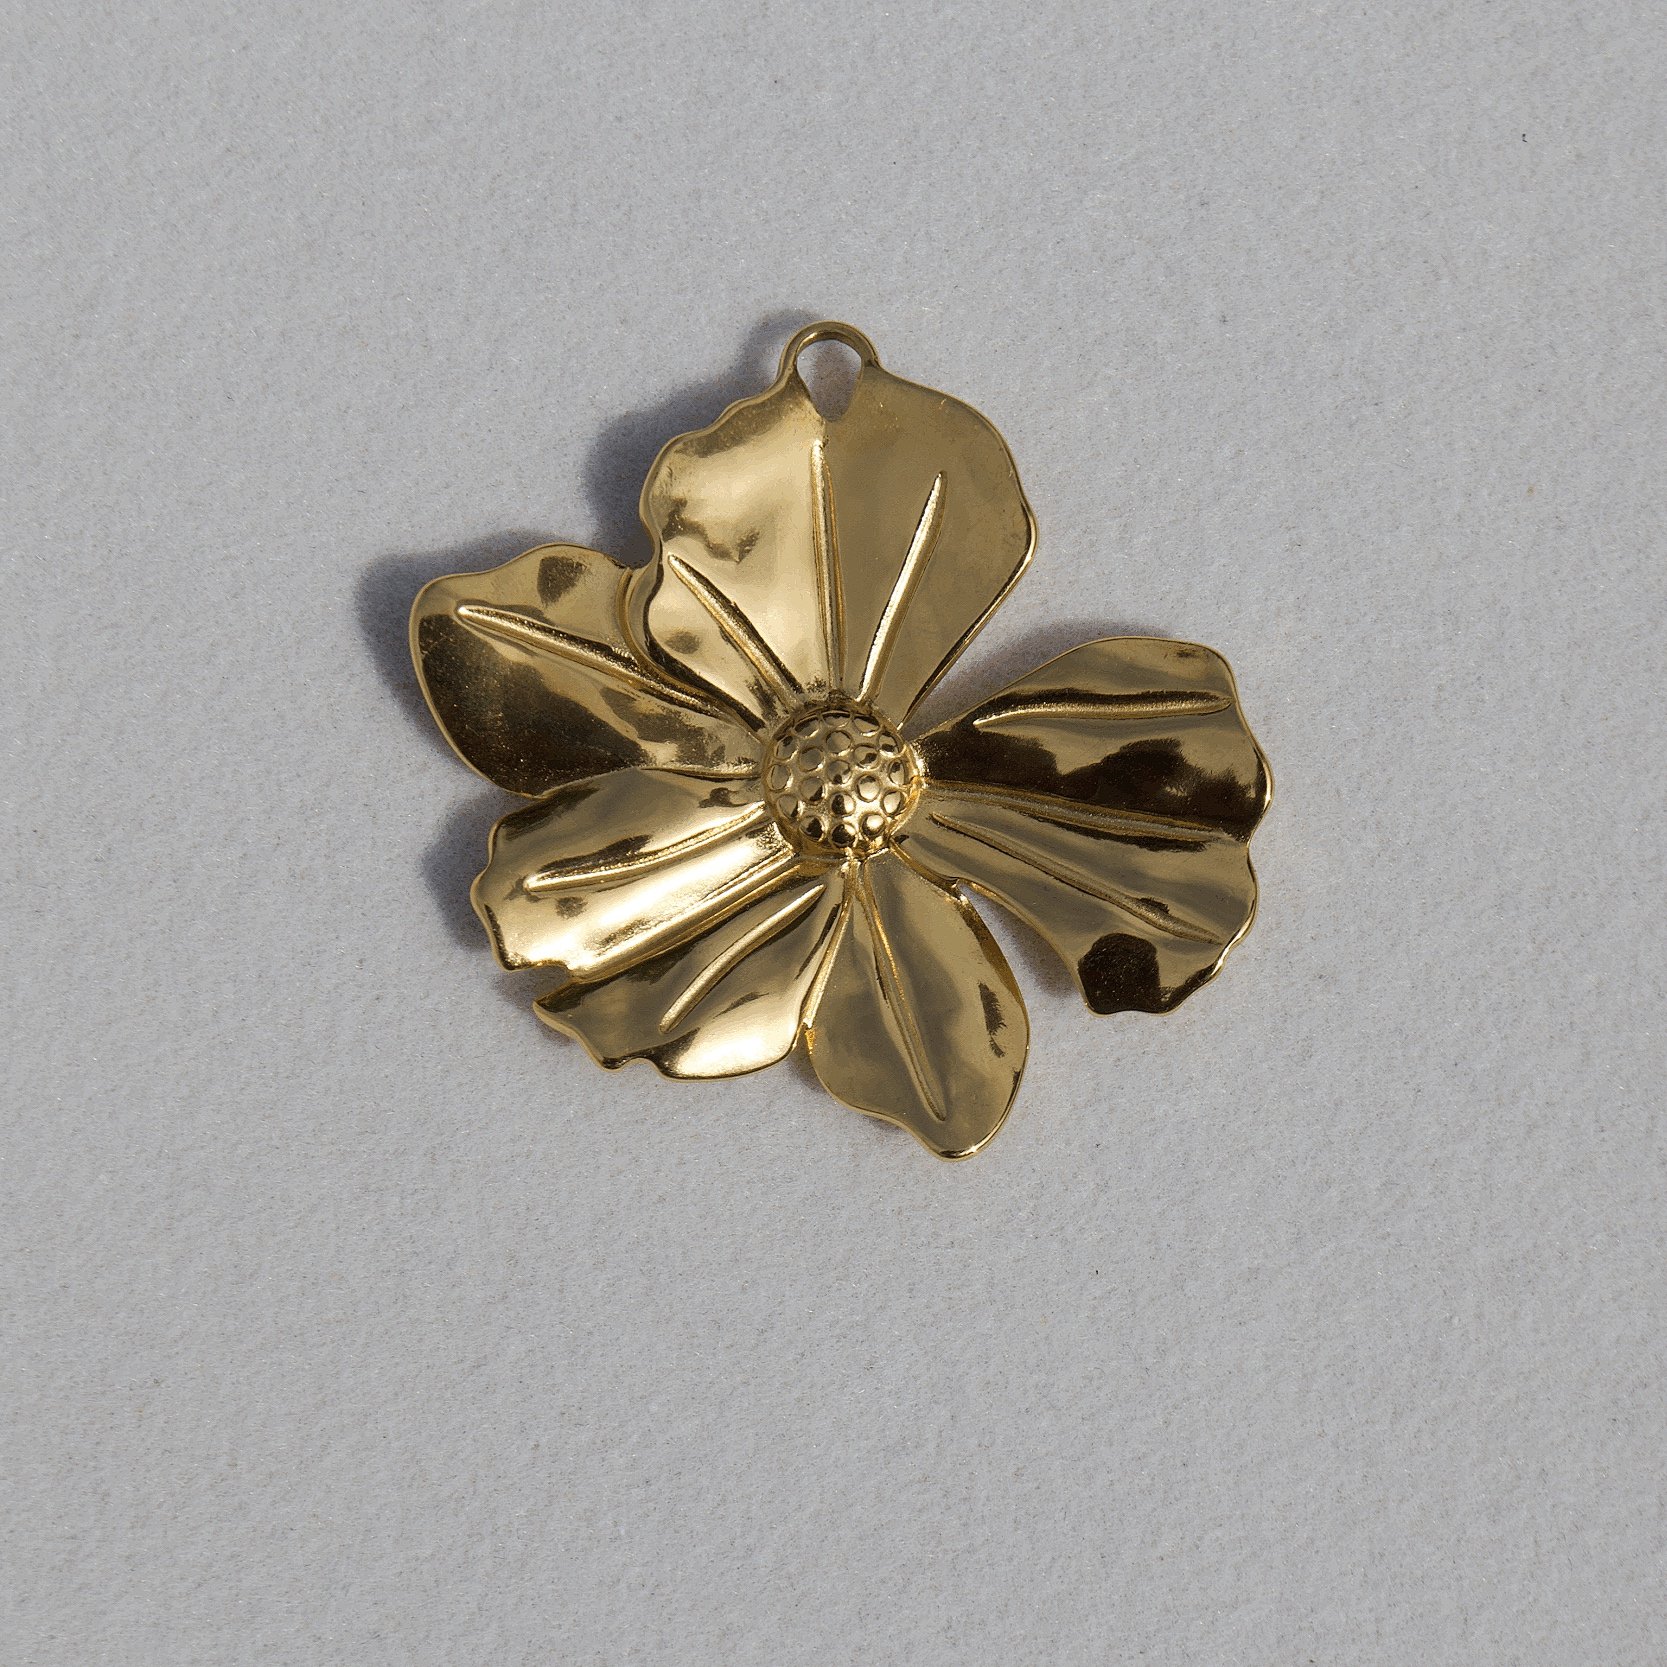 Image 22 of 56
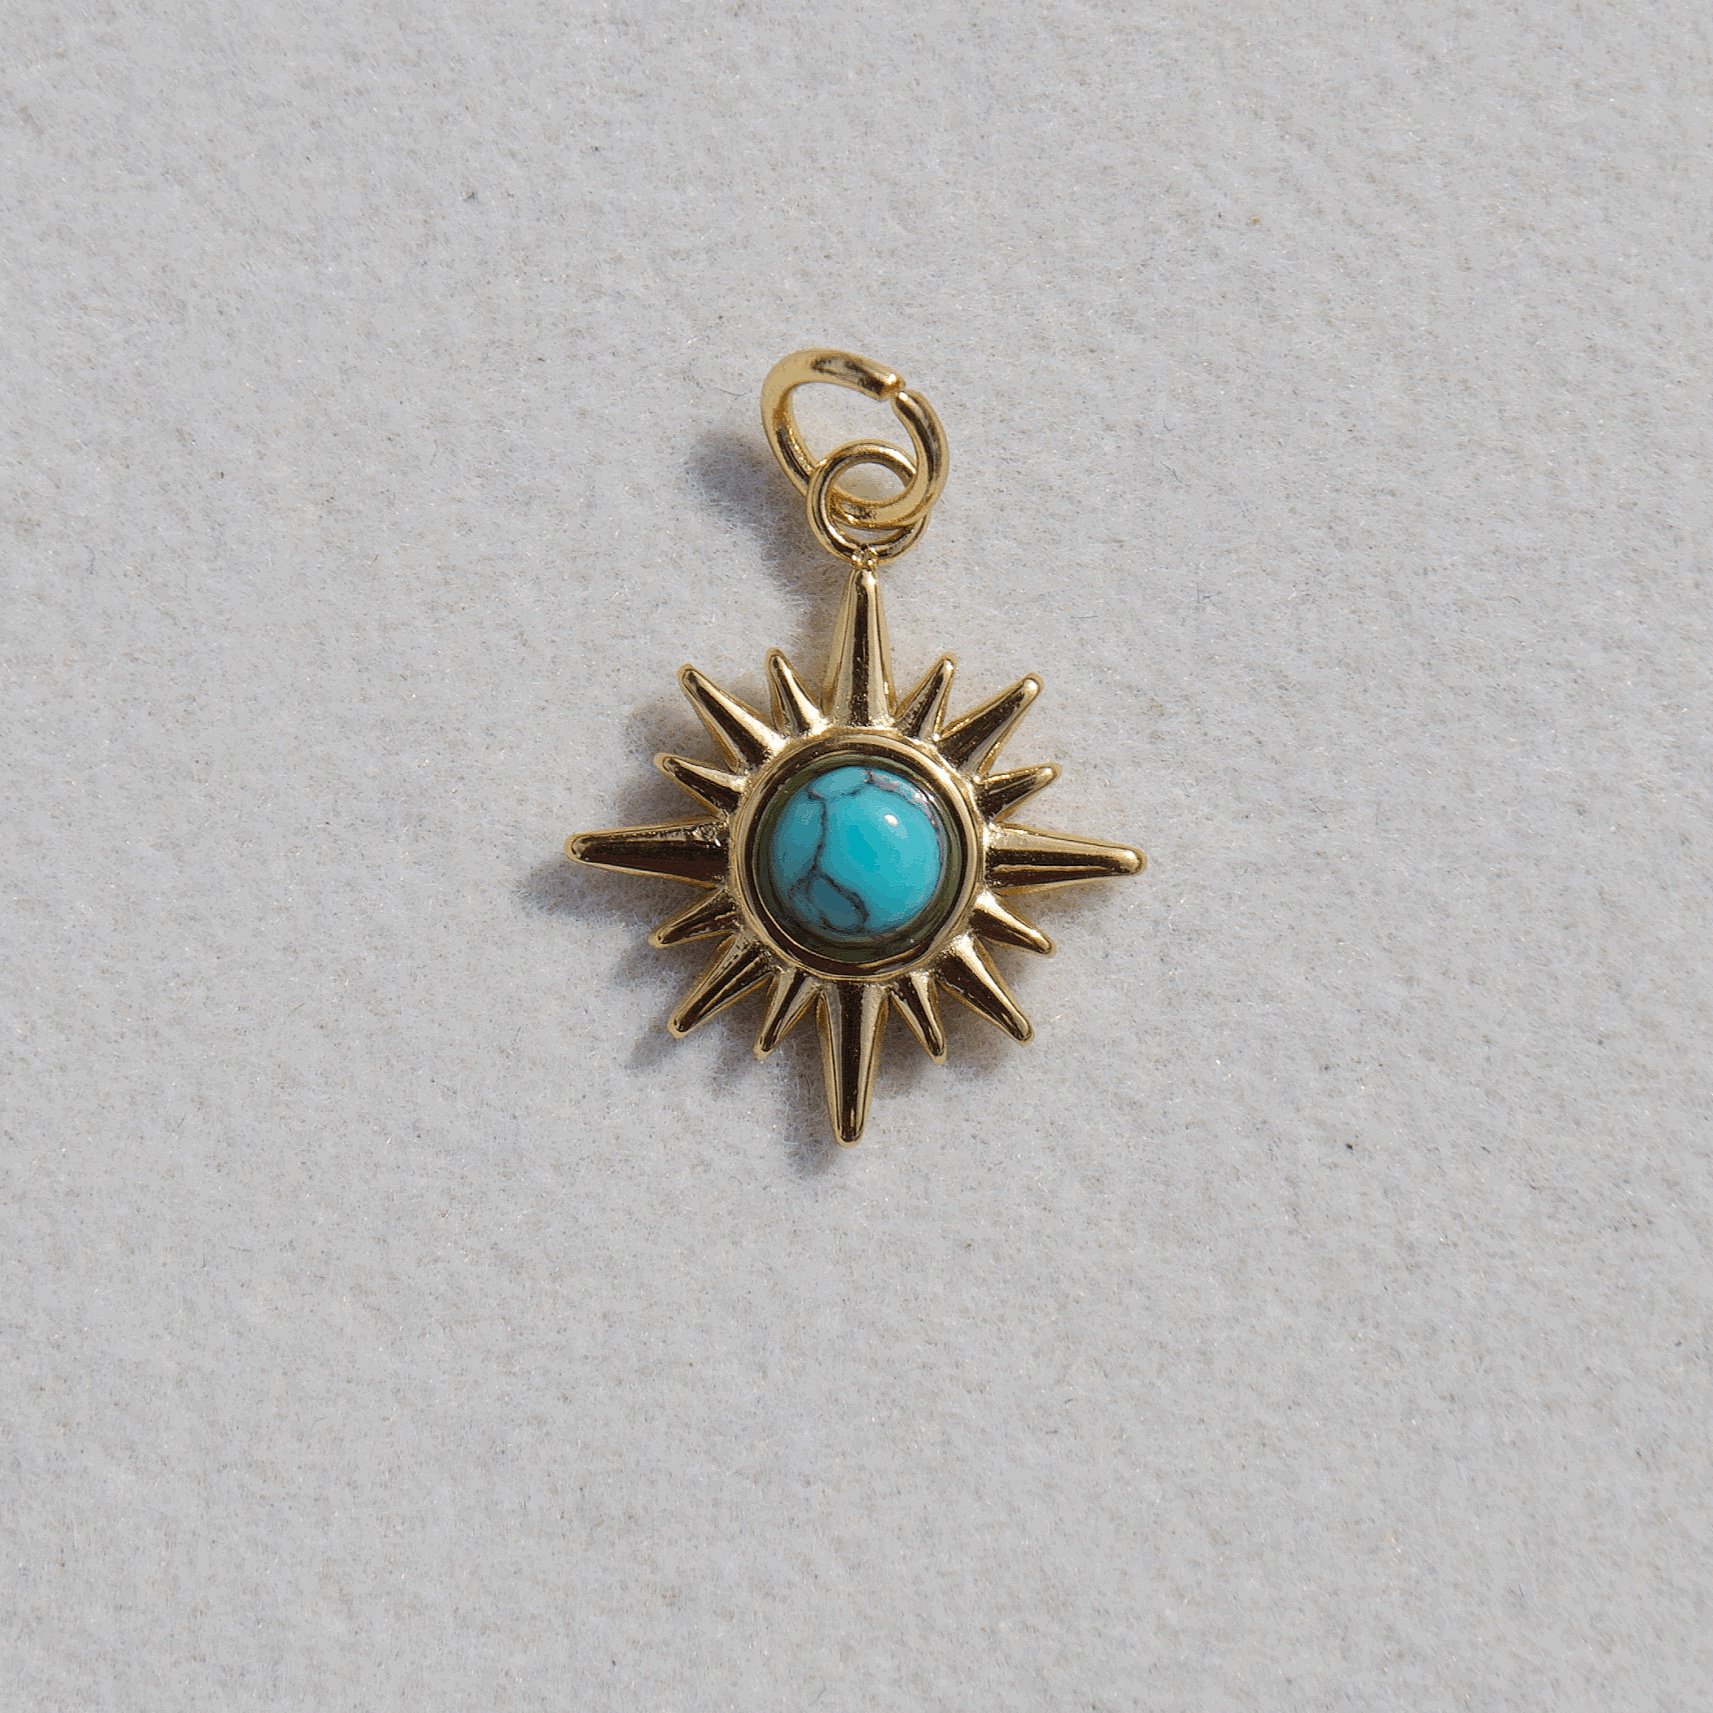 Image 23 of 56
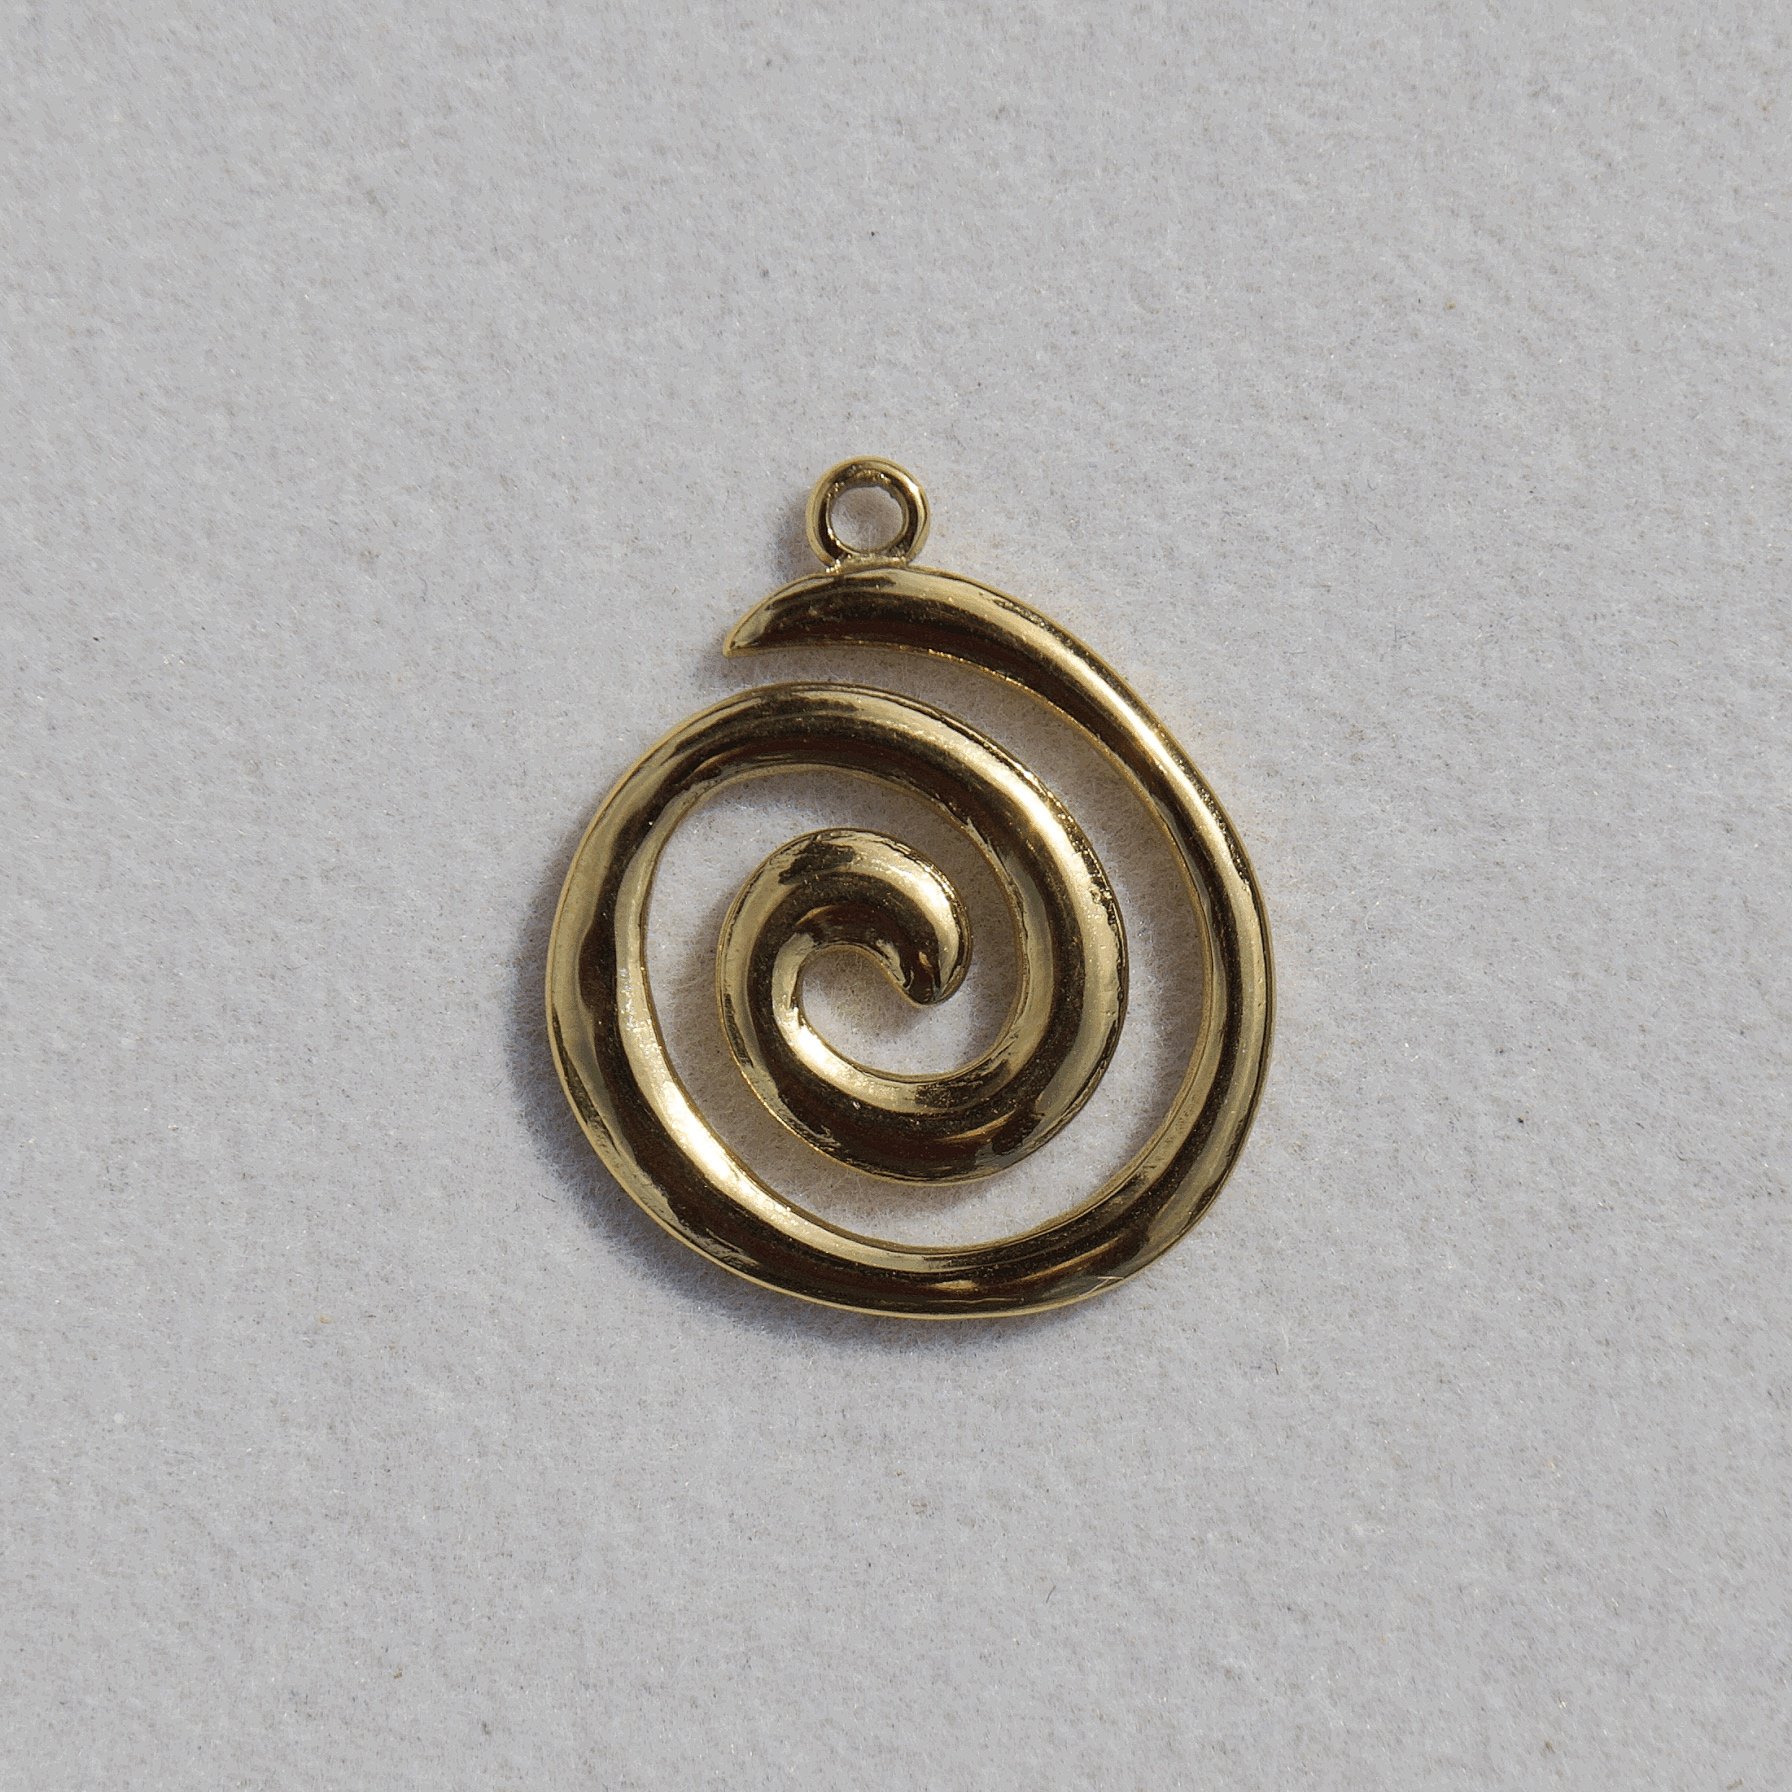 Image 24 of 56
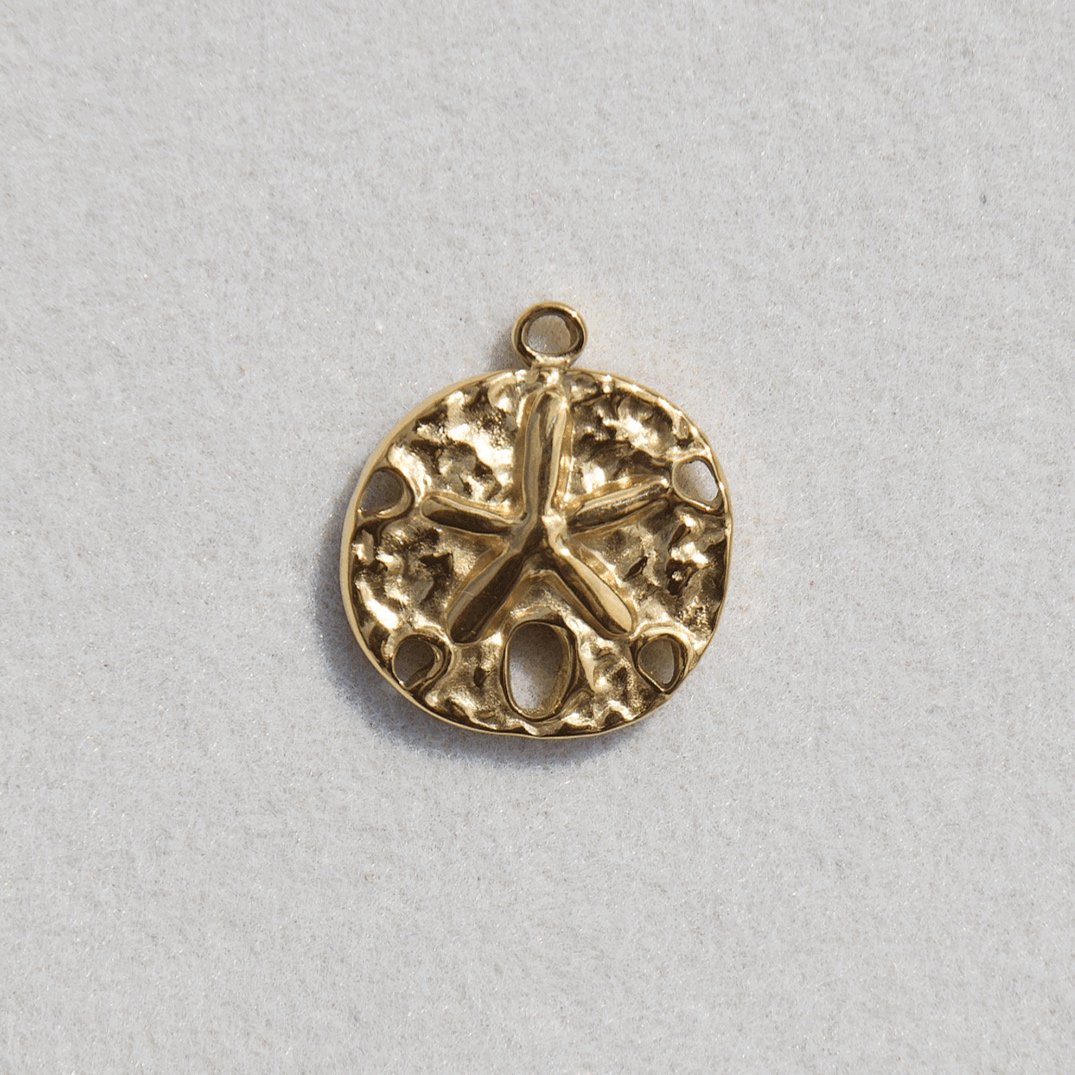 Image 25 of 56
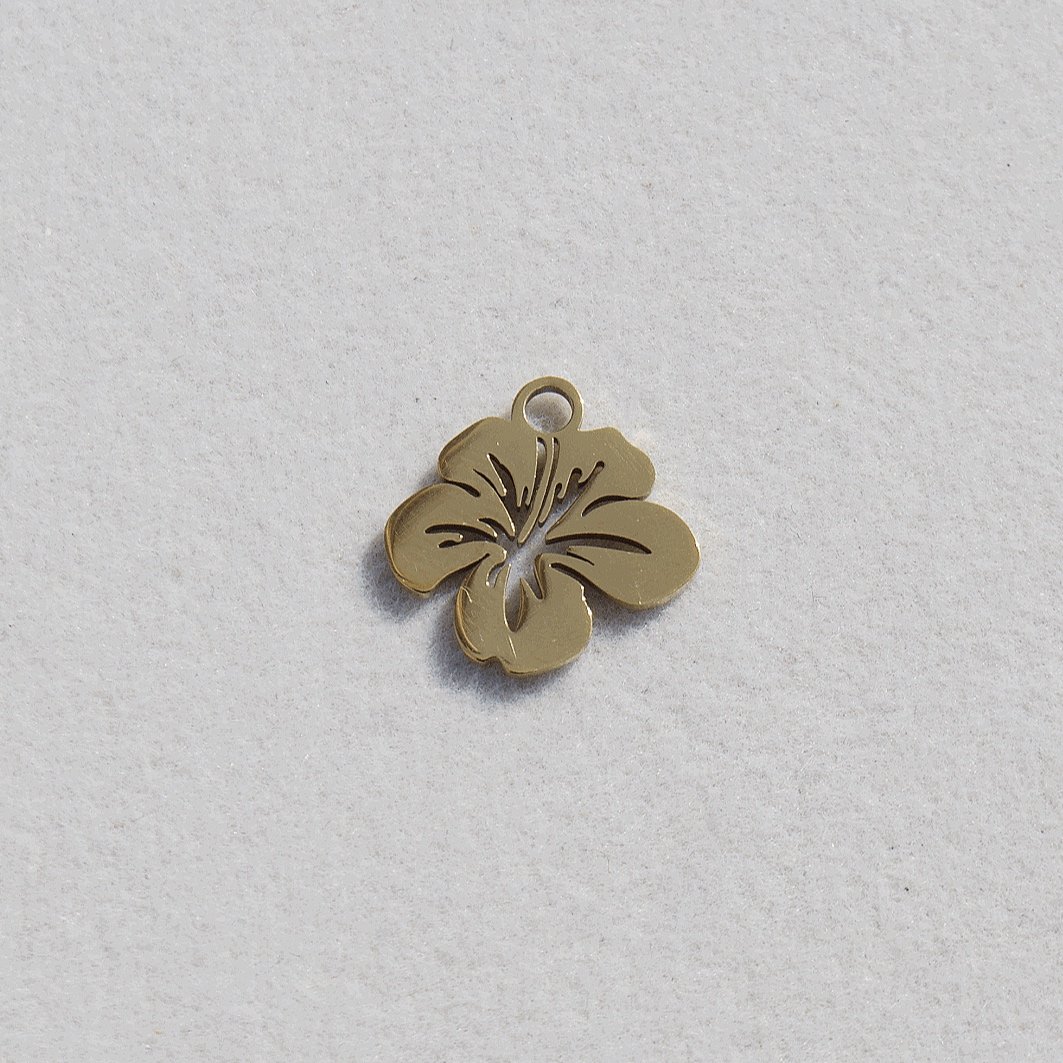 Image 26 of 56
 Image 27 of 56
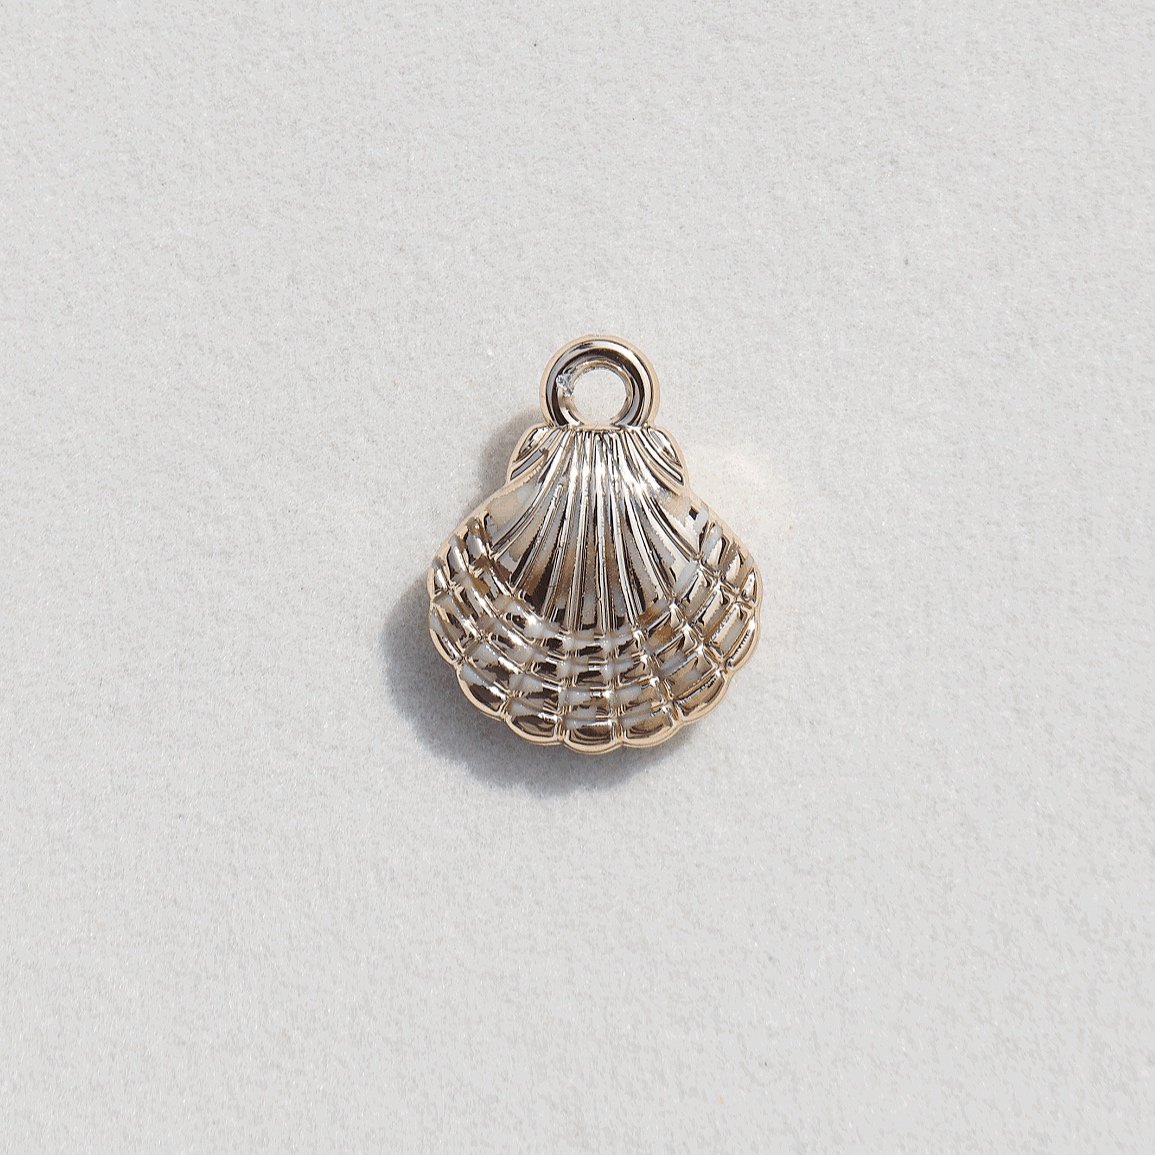 Image 28 of 56
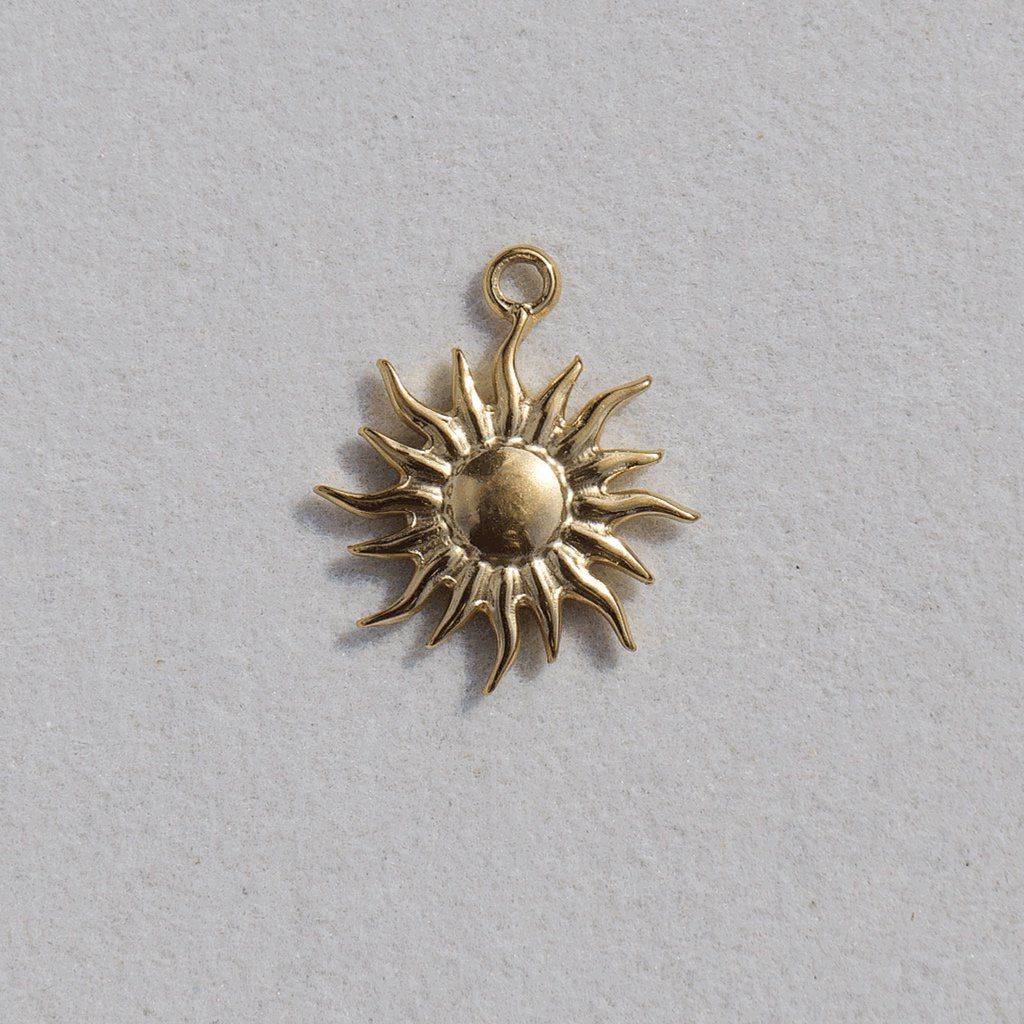 Image 29 of 56
 Image 30 of 56
 Image 31 of 56
 Image 32 of 56
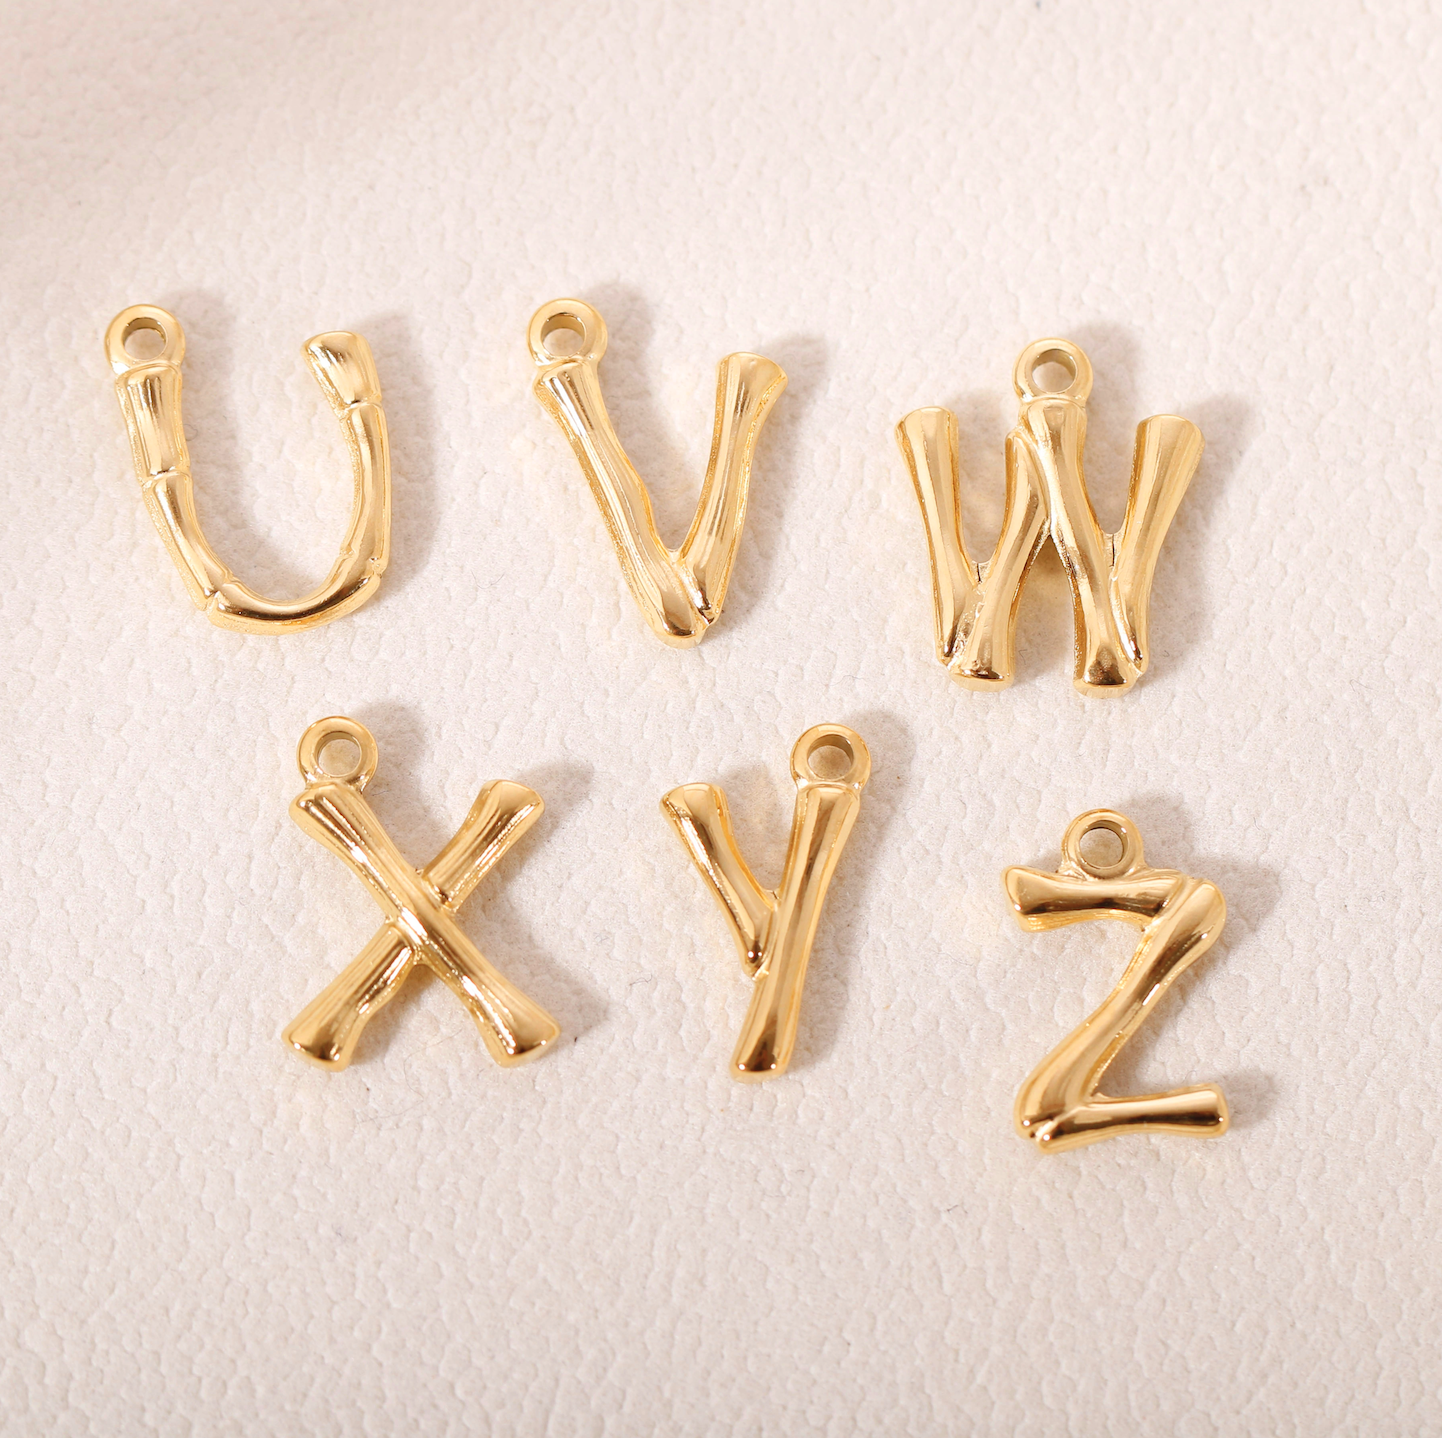 Image 33 of 56
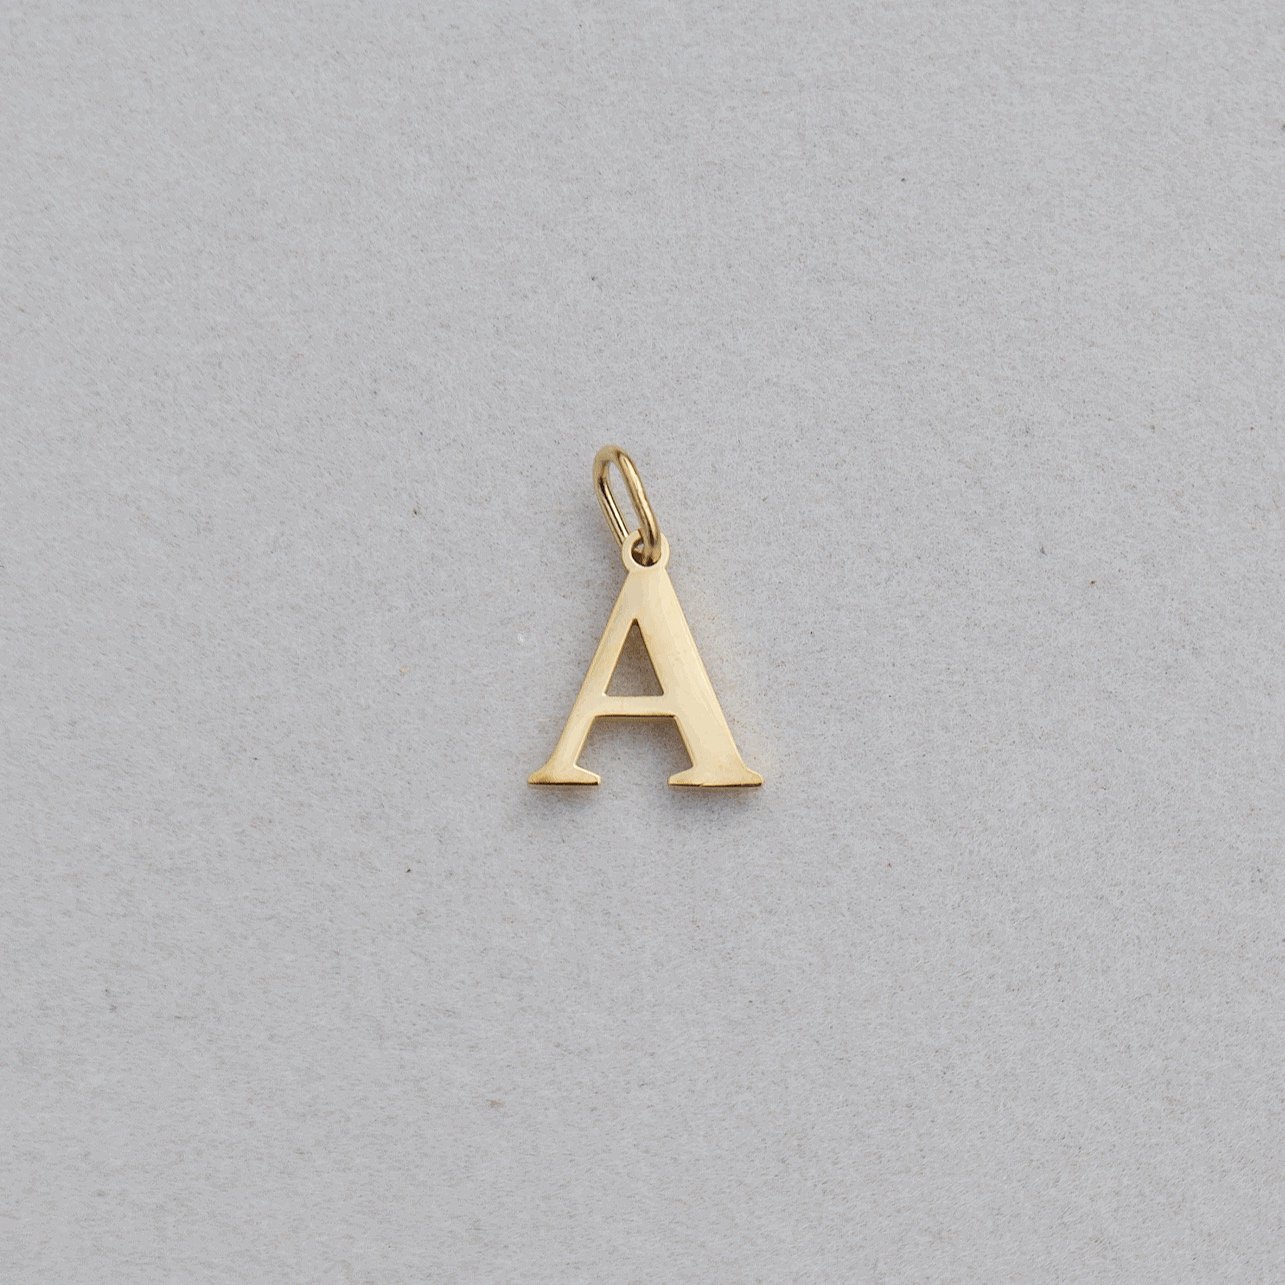 Image 34 of 56
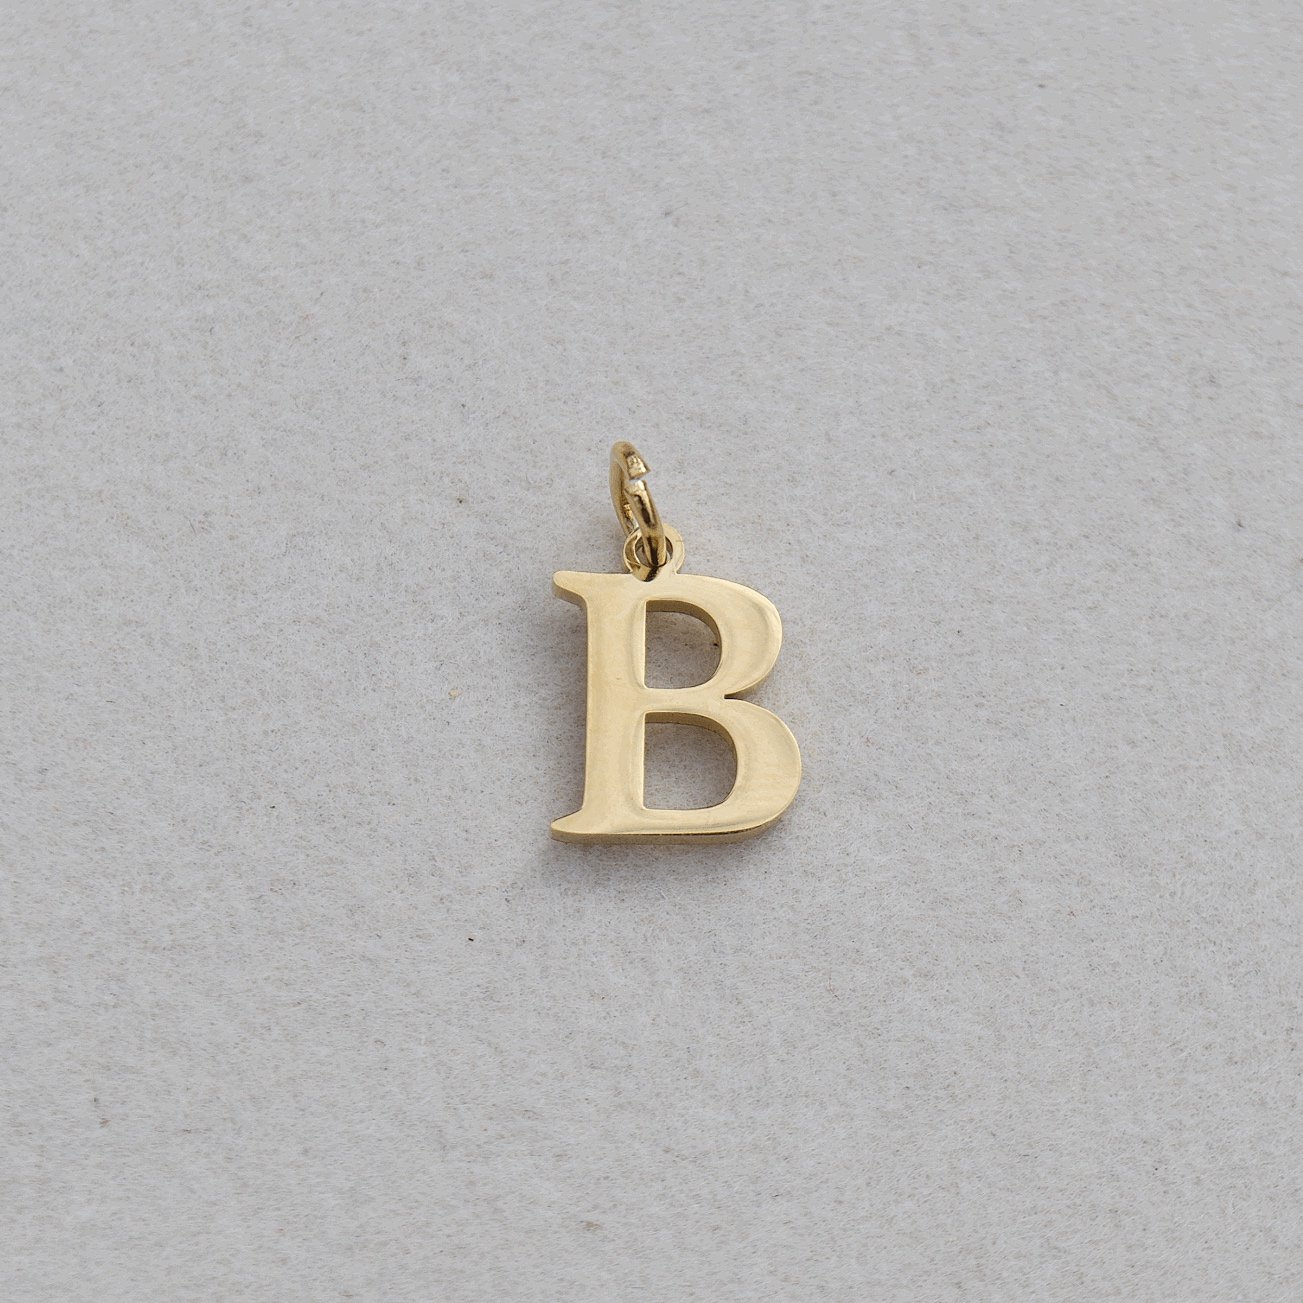 Image 35 of 56
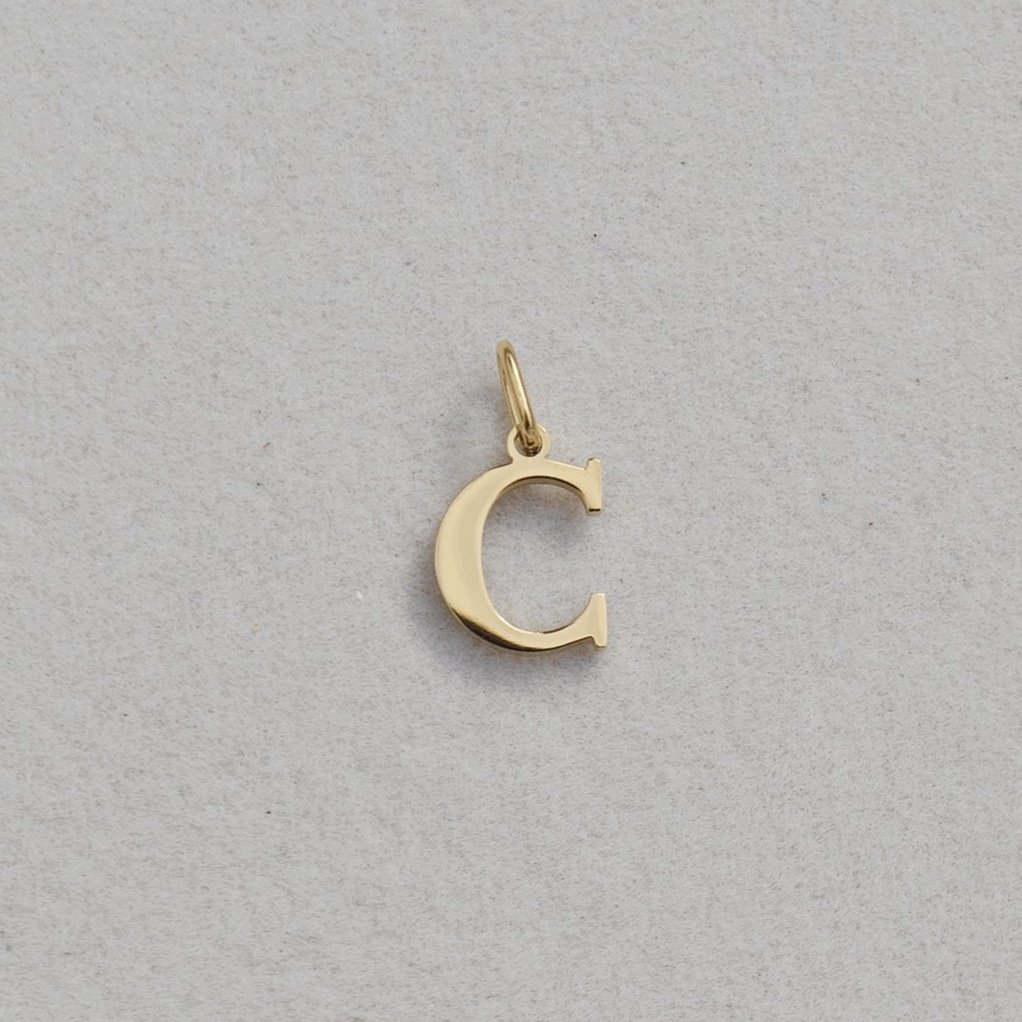 Image 36 of 56
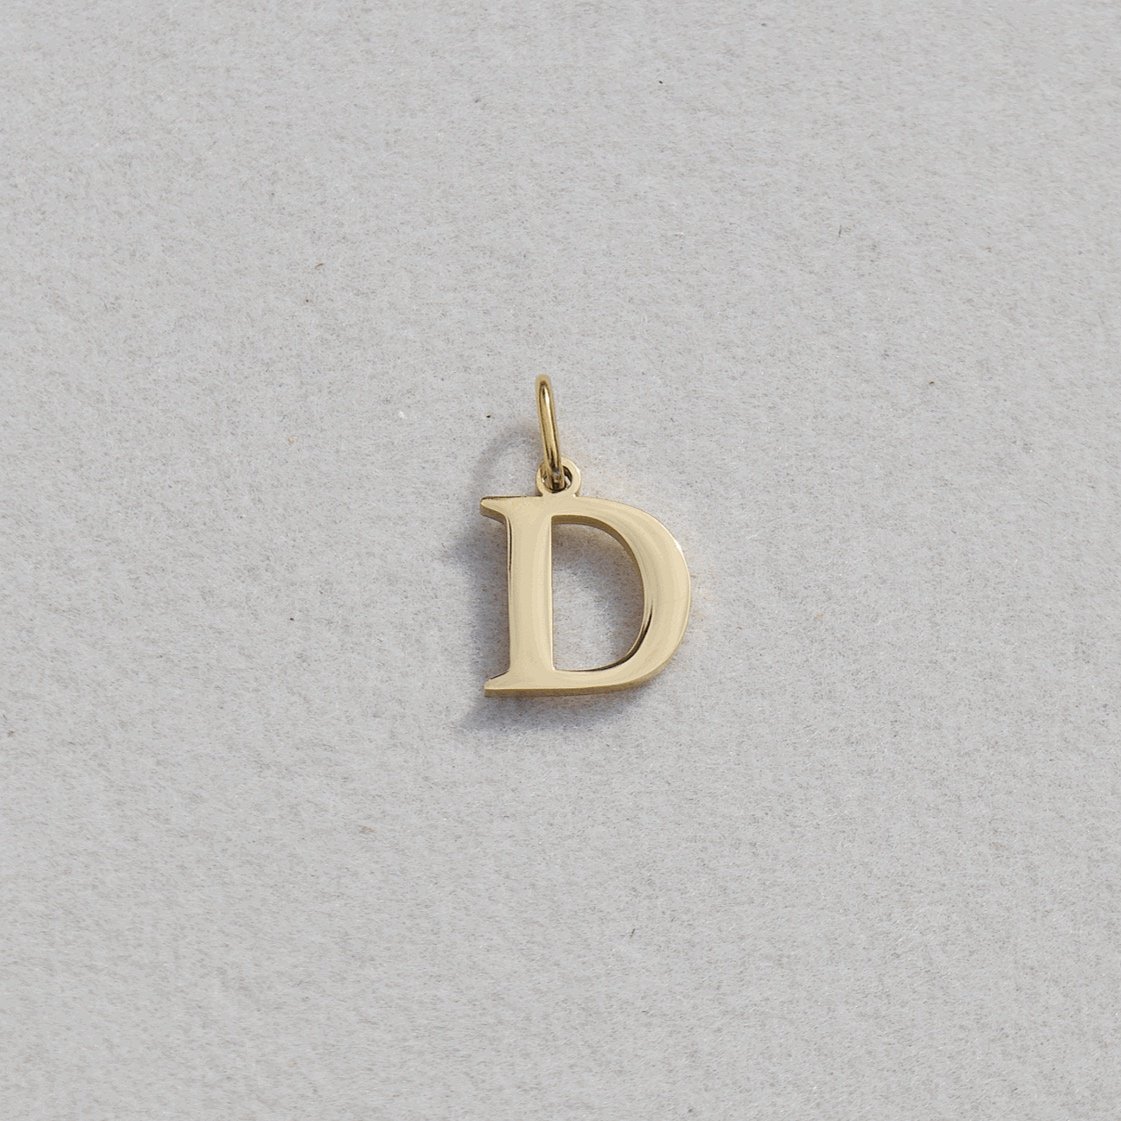 Image 37 of 56
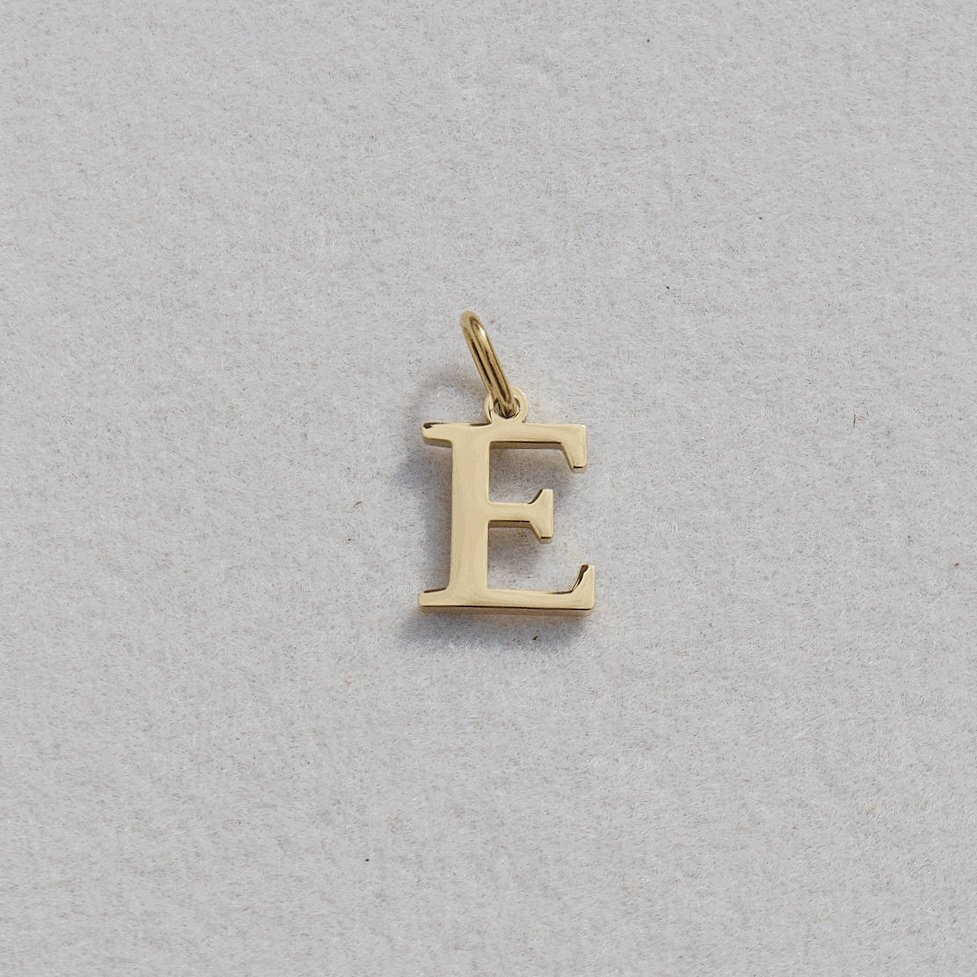 Image 38 of 56
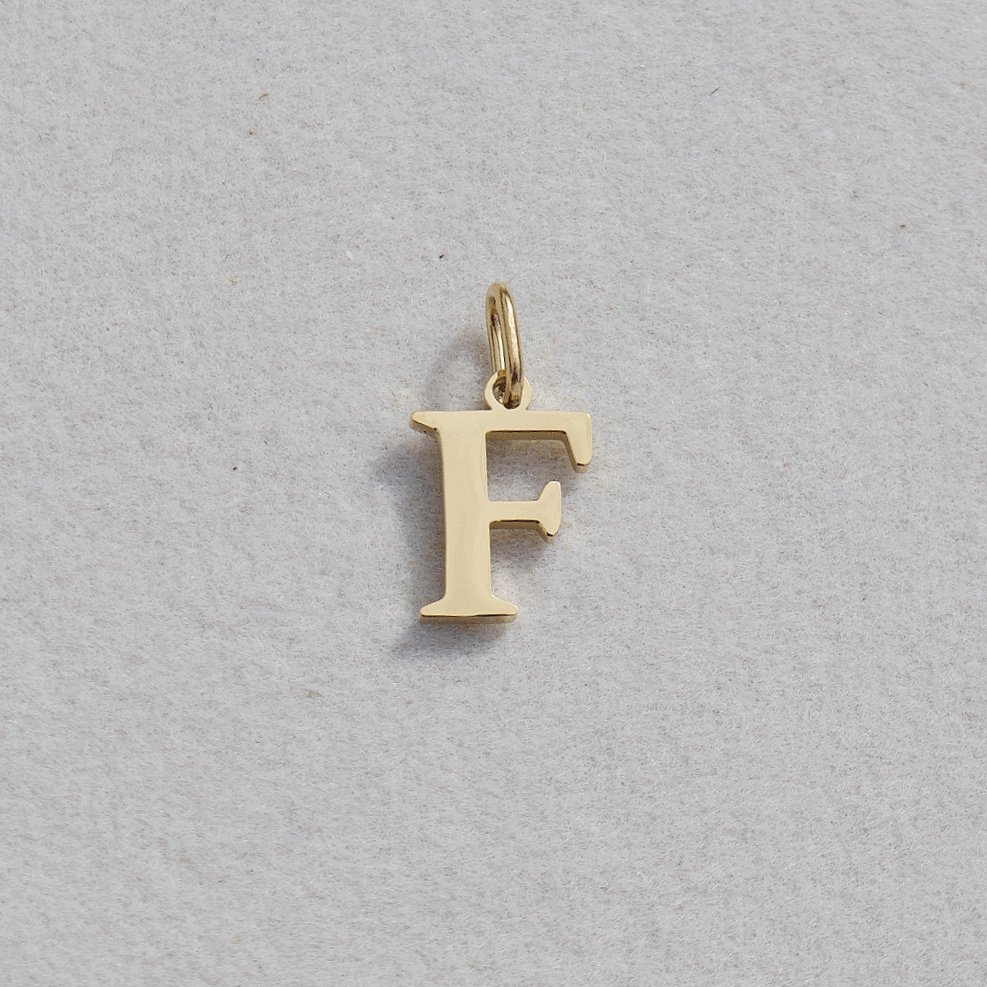 Image 39 of 56
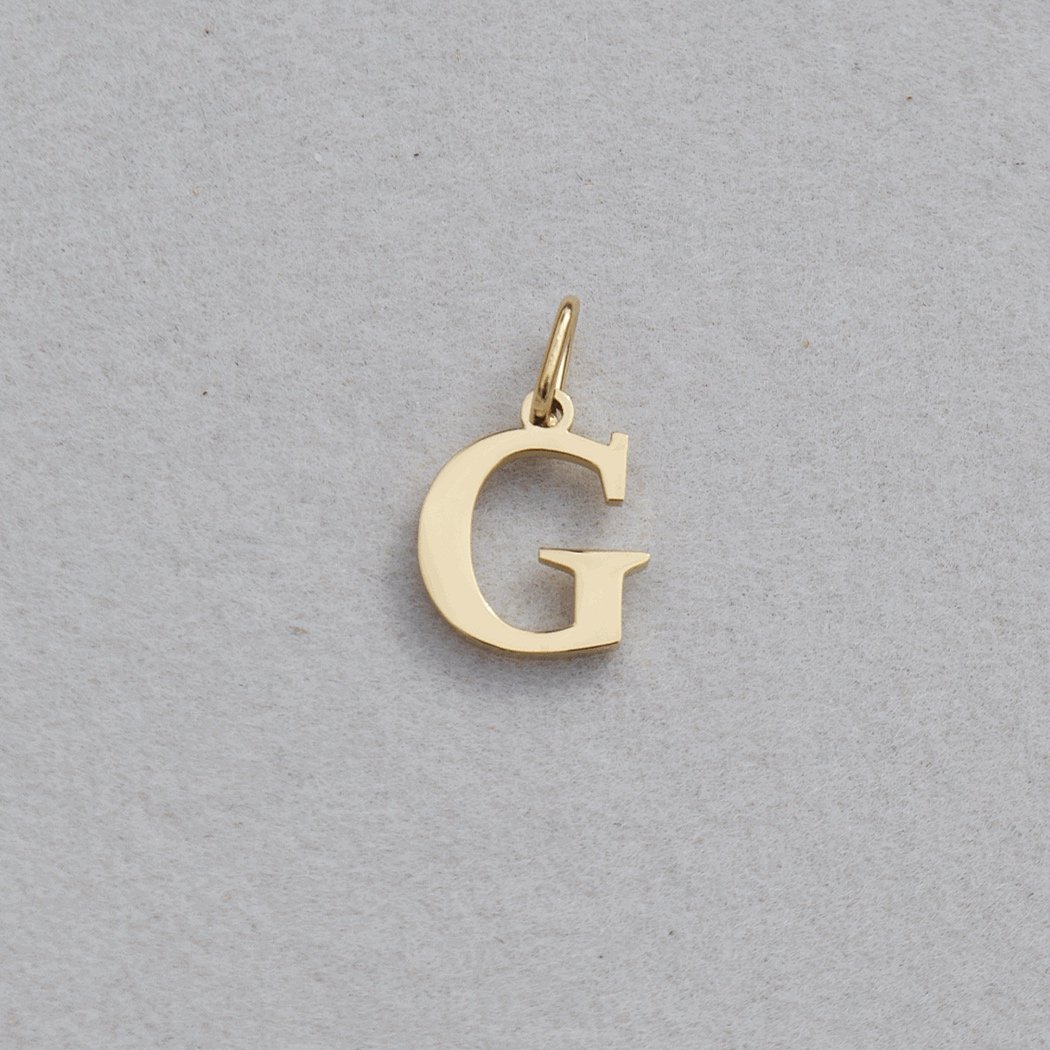 Image 40 of 56
 Image 41 of 56
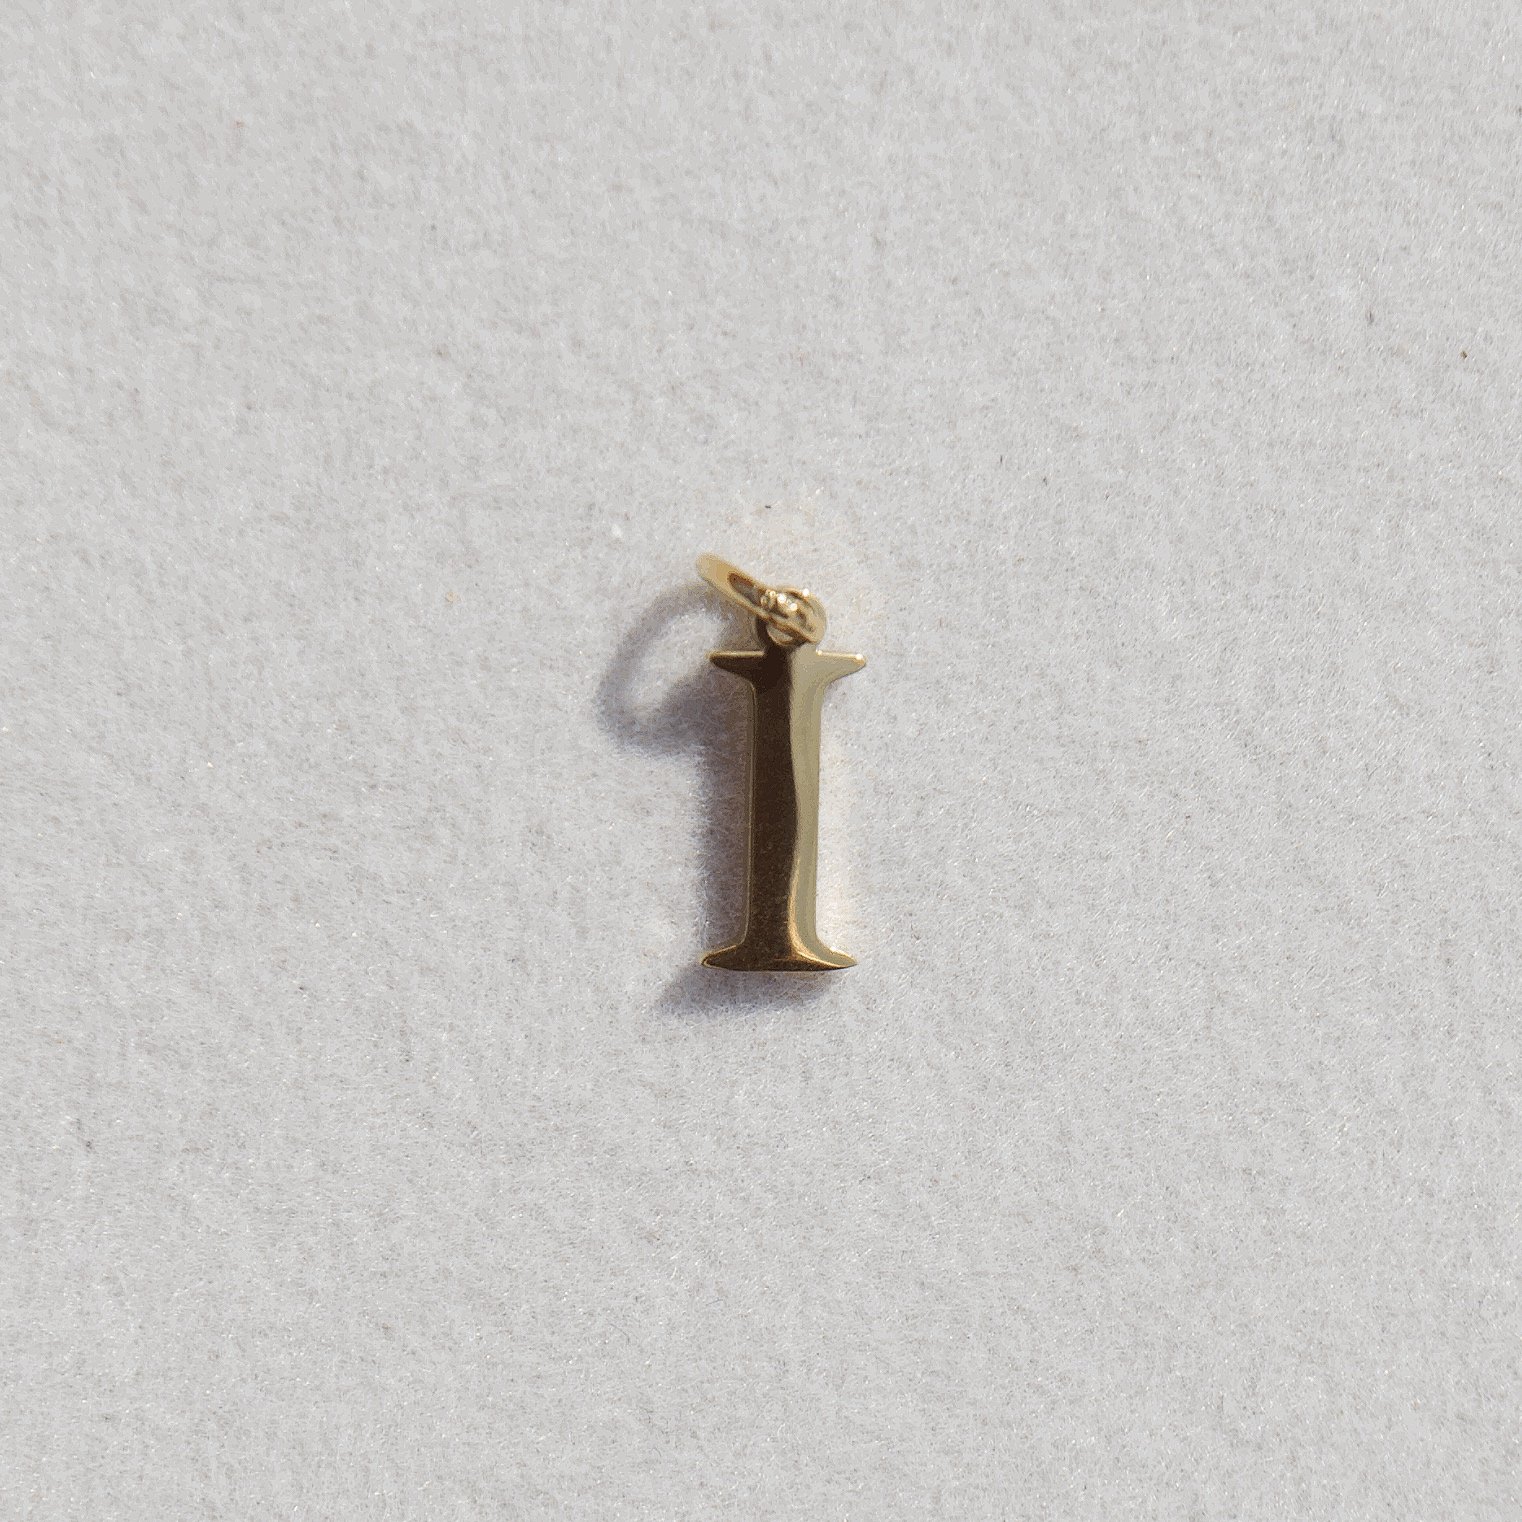 Image 42 of 56
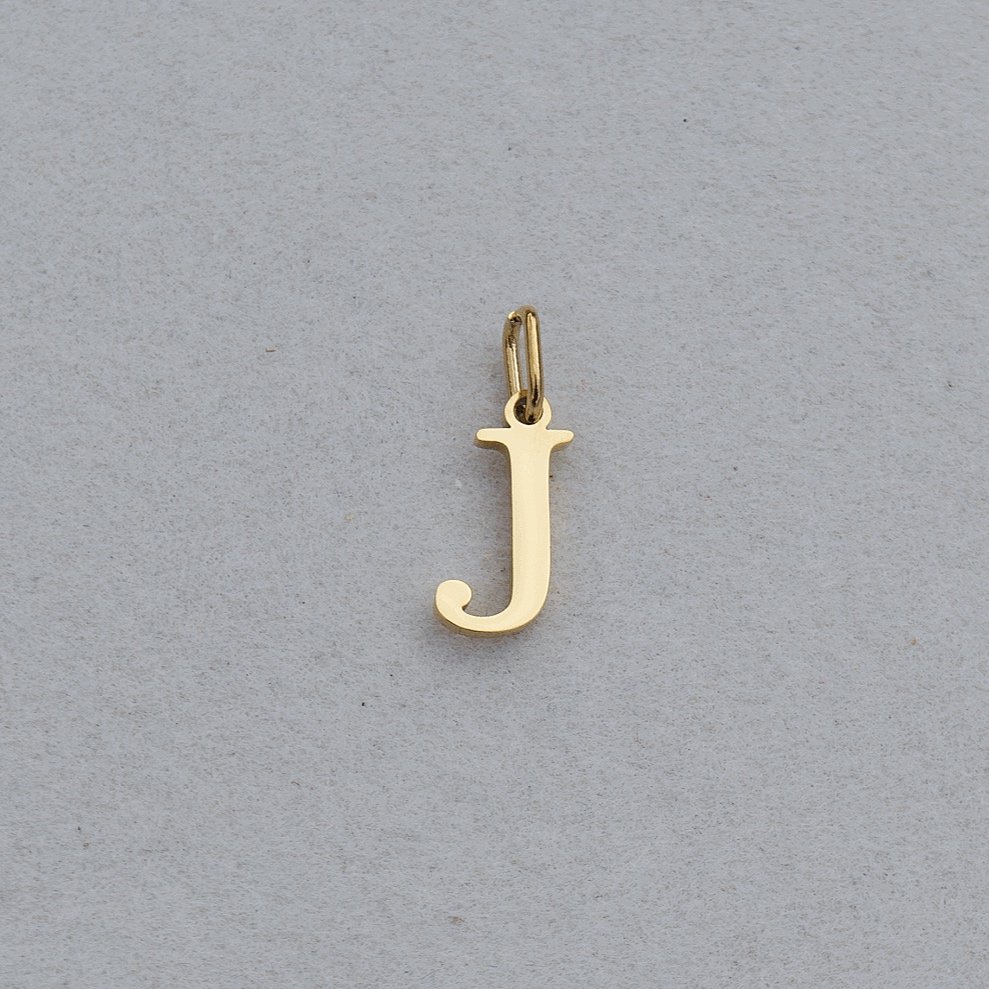 Image 43 of 56
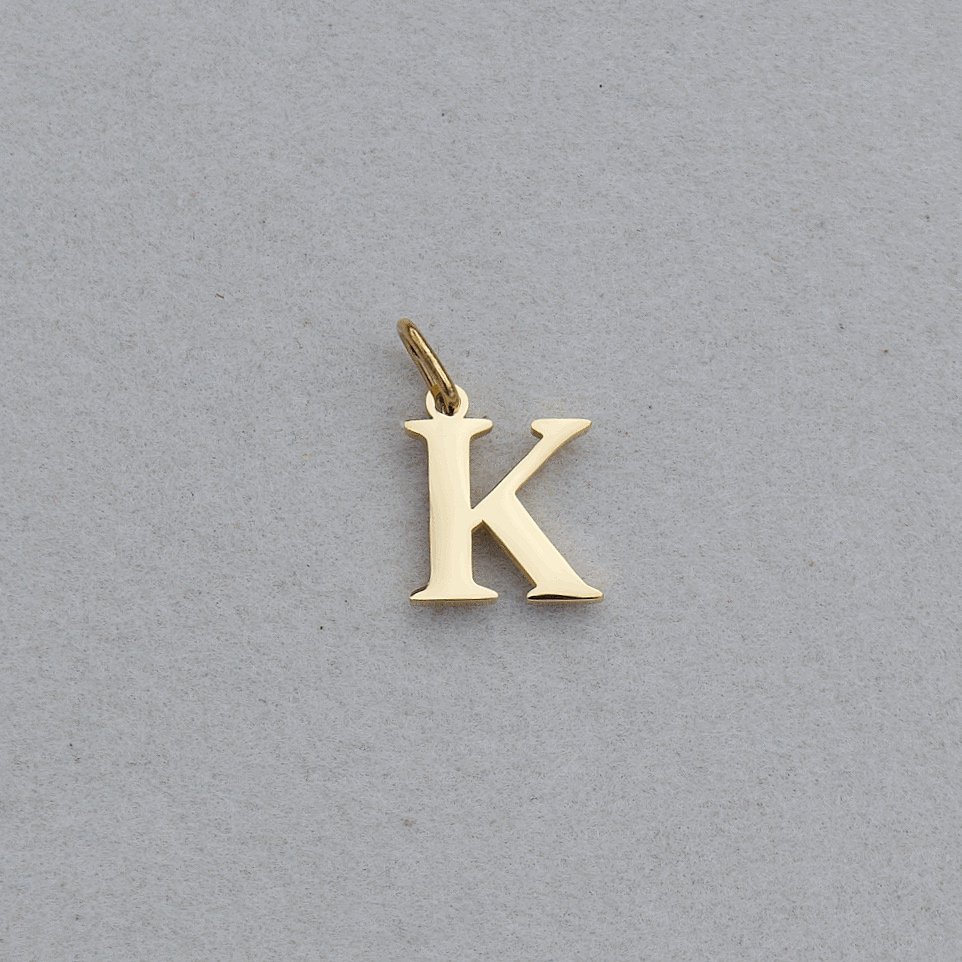 Image 44 of 56
 Image 45 of 56
 Image 46 of 56
 Image 47 of 56
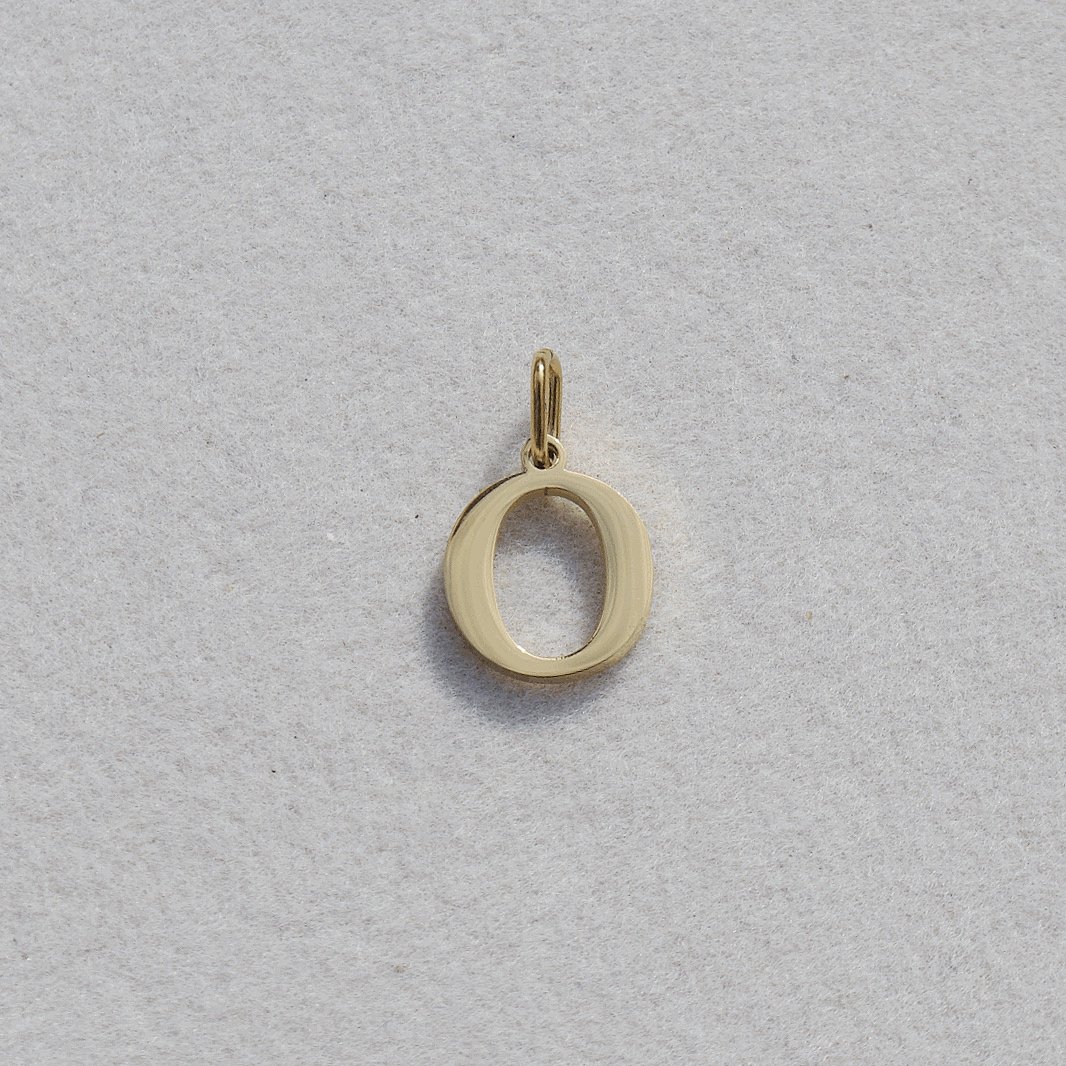 Image 48 of 56
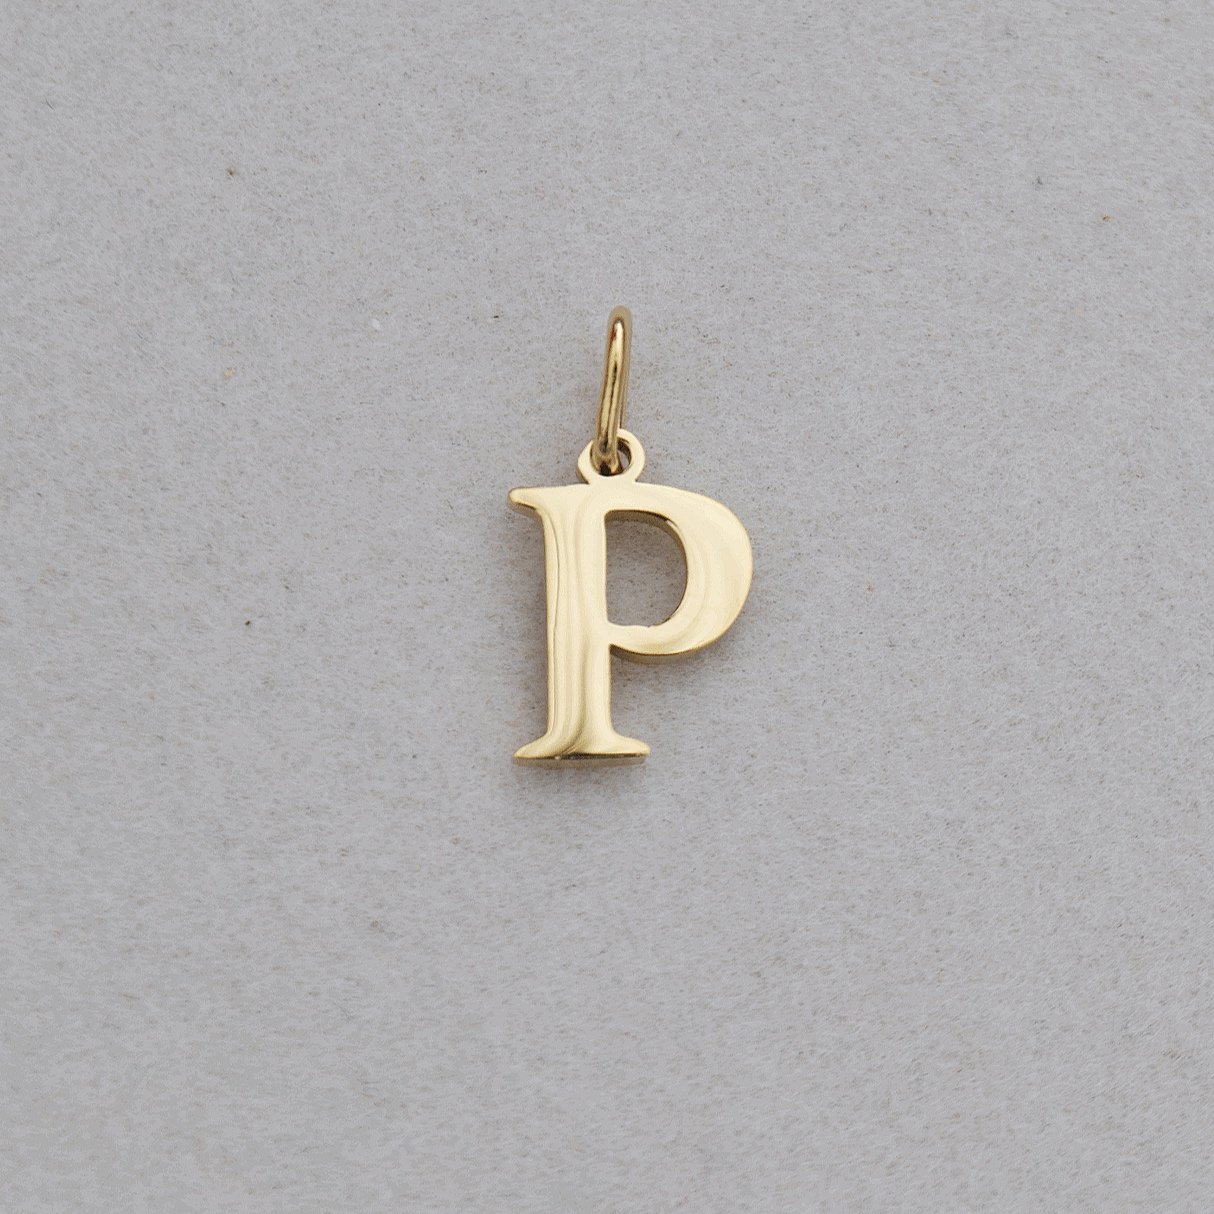 Image 49 of 56
 Image 50 of 56
 Image 51 of 56
 Image 52 of 56
 Image 53 of 56
 Image 54 of 56
 Image 55 of 56
 Image 56 of 56